Software 101: Converting to Black and White
There are a lot of ways to convert color photos to black and white. Some provide a bit more control than others, but no method is wrong.
Through a lot of experimentation I found this method that gives me a look I really like and the amount of control over the look I wanted using a combination of Lightroom and Photoshop.
Step 1.
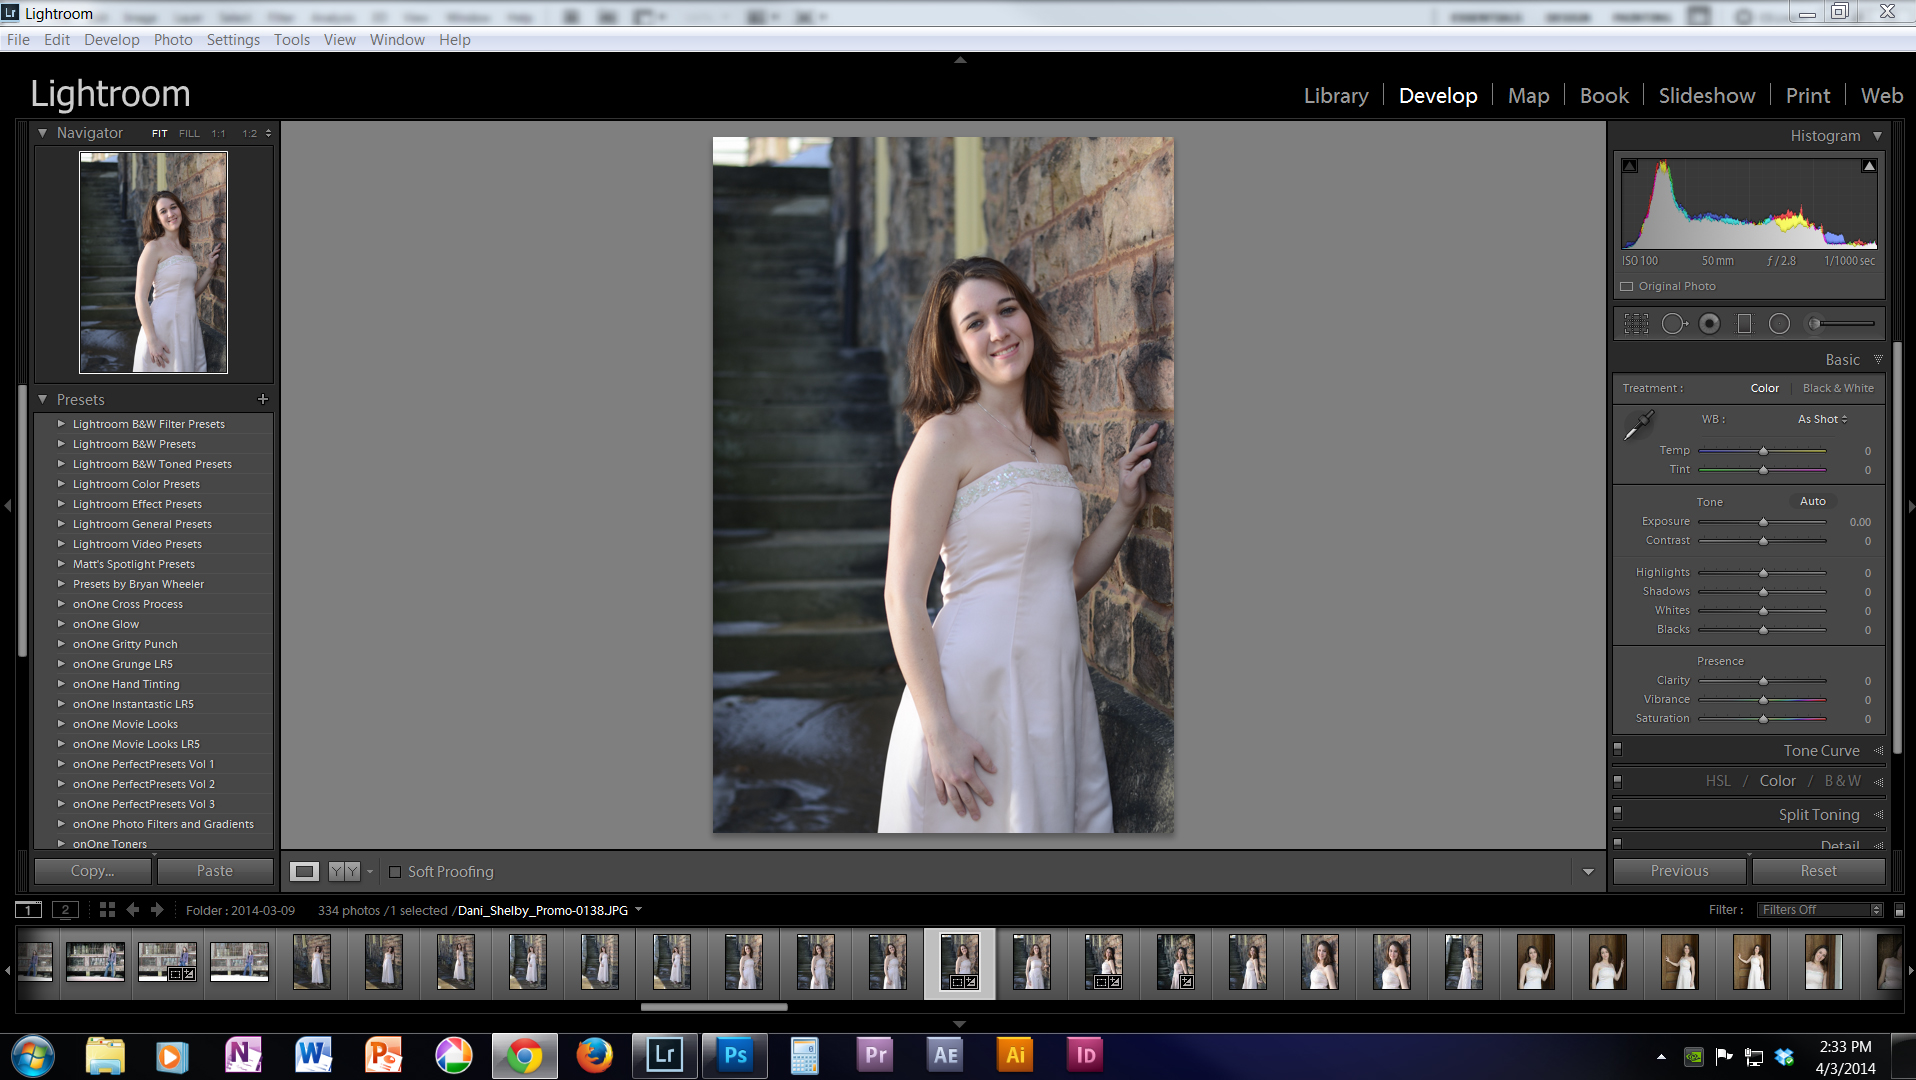
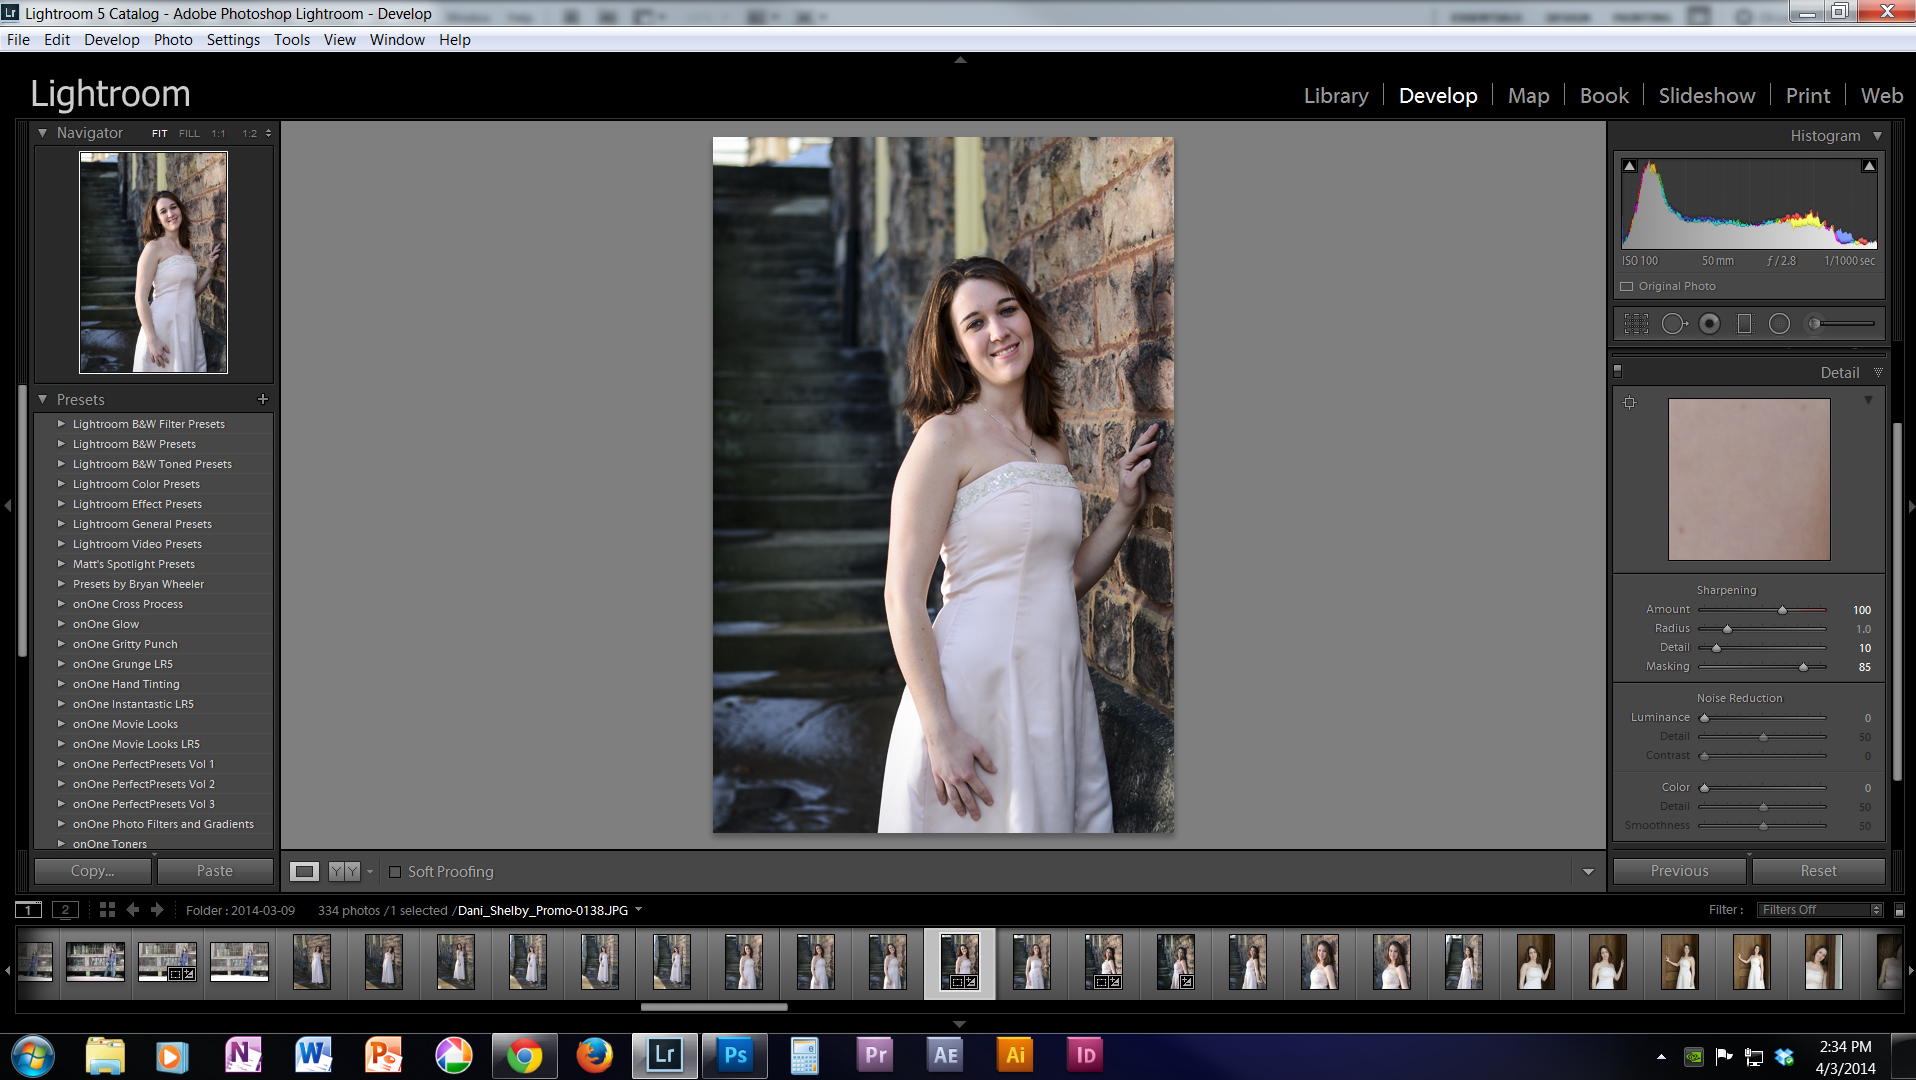
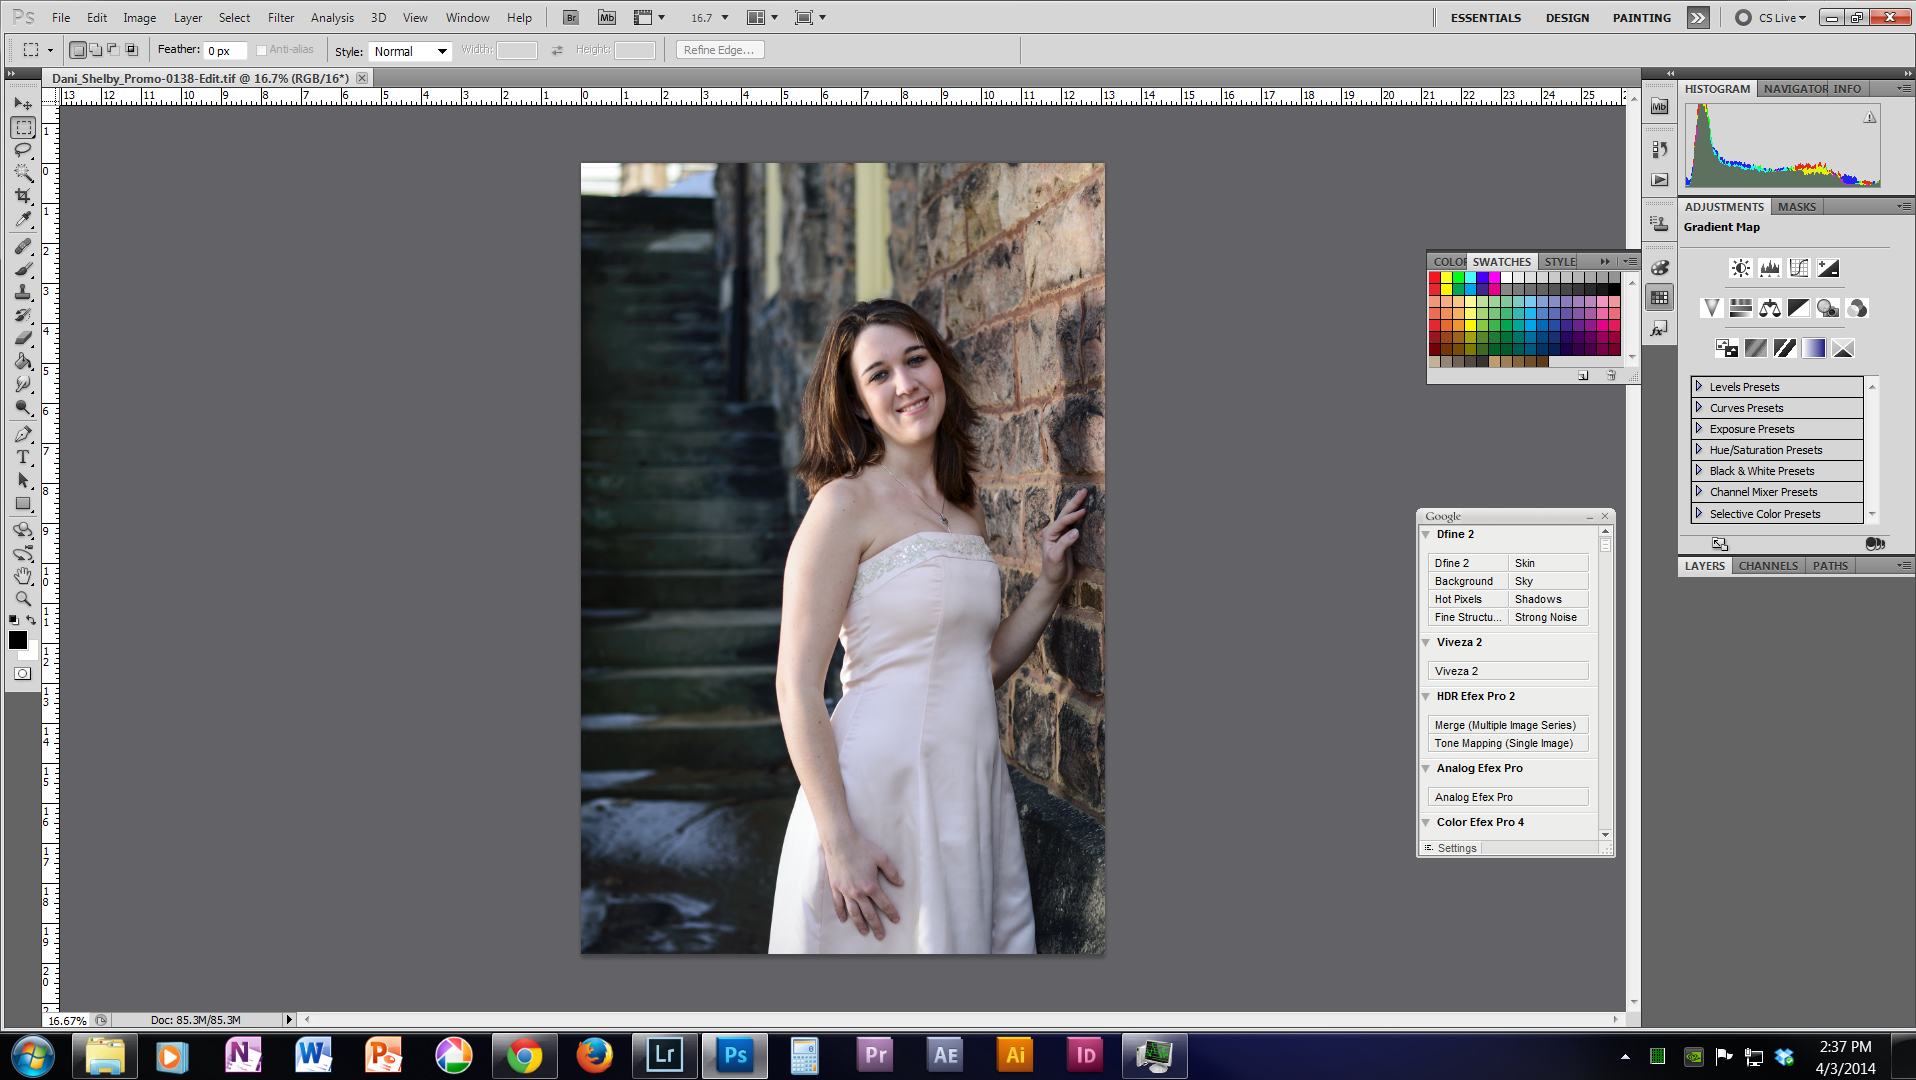
The start of a great black and white photo is a good color photo. Edit your photo to a look that you like in color first. In this photo I adjusted contrast, lowered the blacks a bit, and sharpened the photo.
Now it is entirely possible to create black and whites, but in order to have a bit more control over the process we are going to jump over to Photoshop.
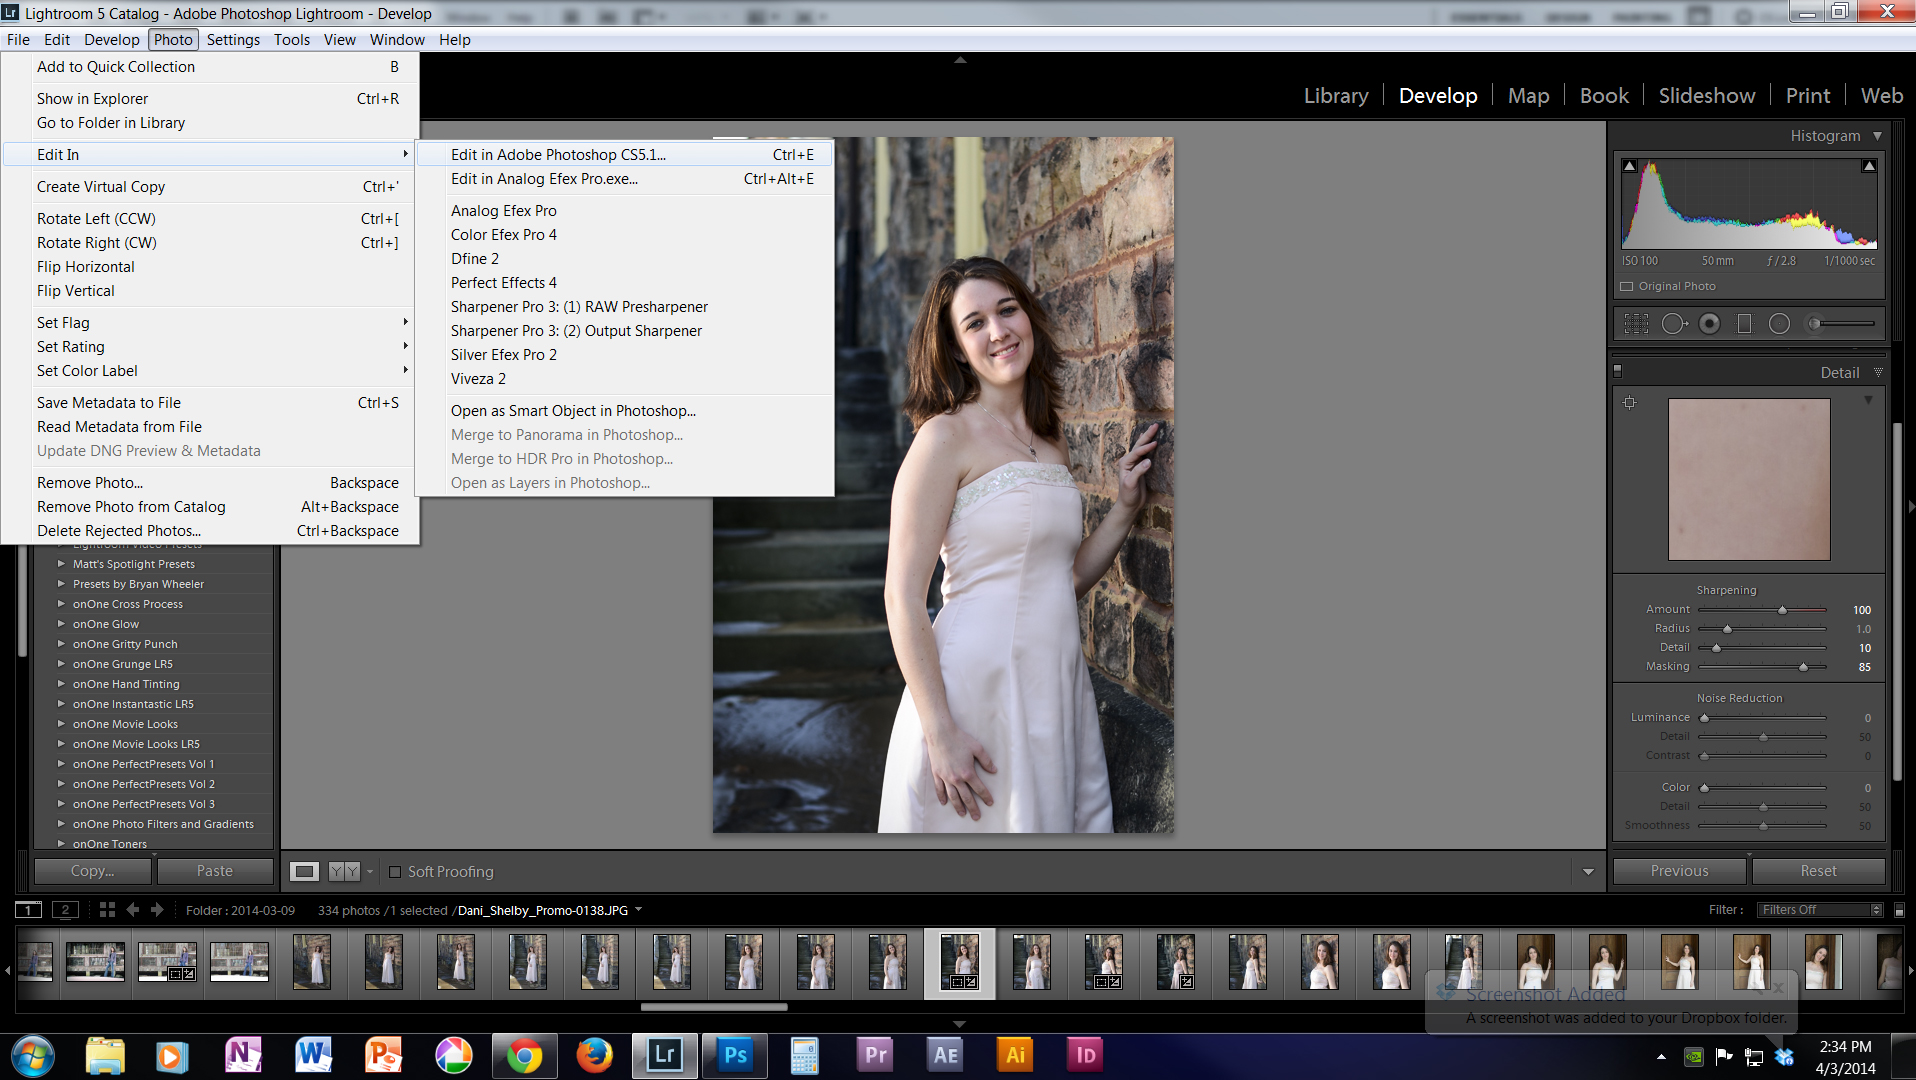
If you have both programs installed on your computer you will go to your menu bar and click Photo>Edit In> Adobe Photoshop.
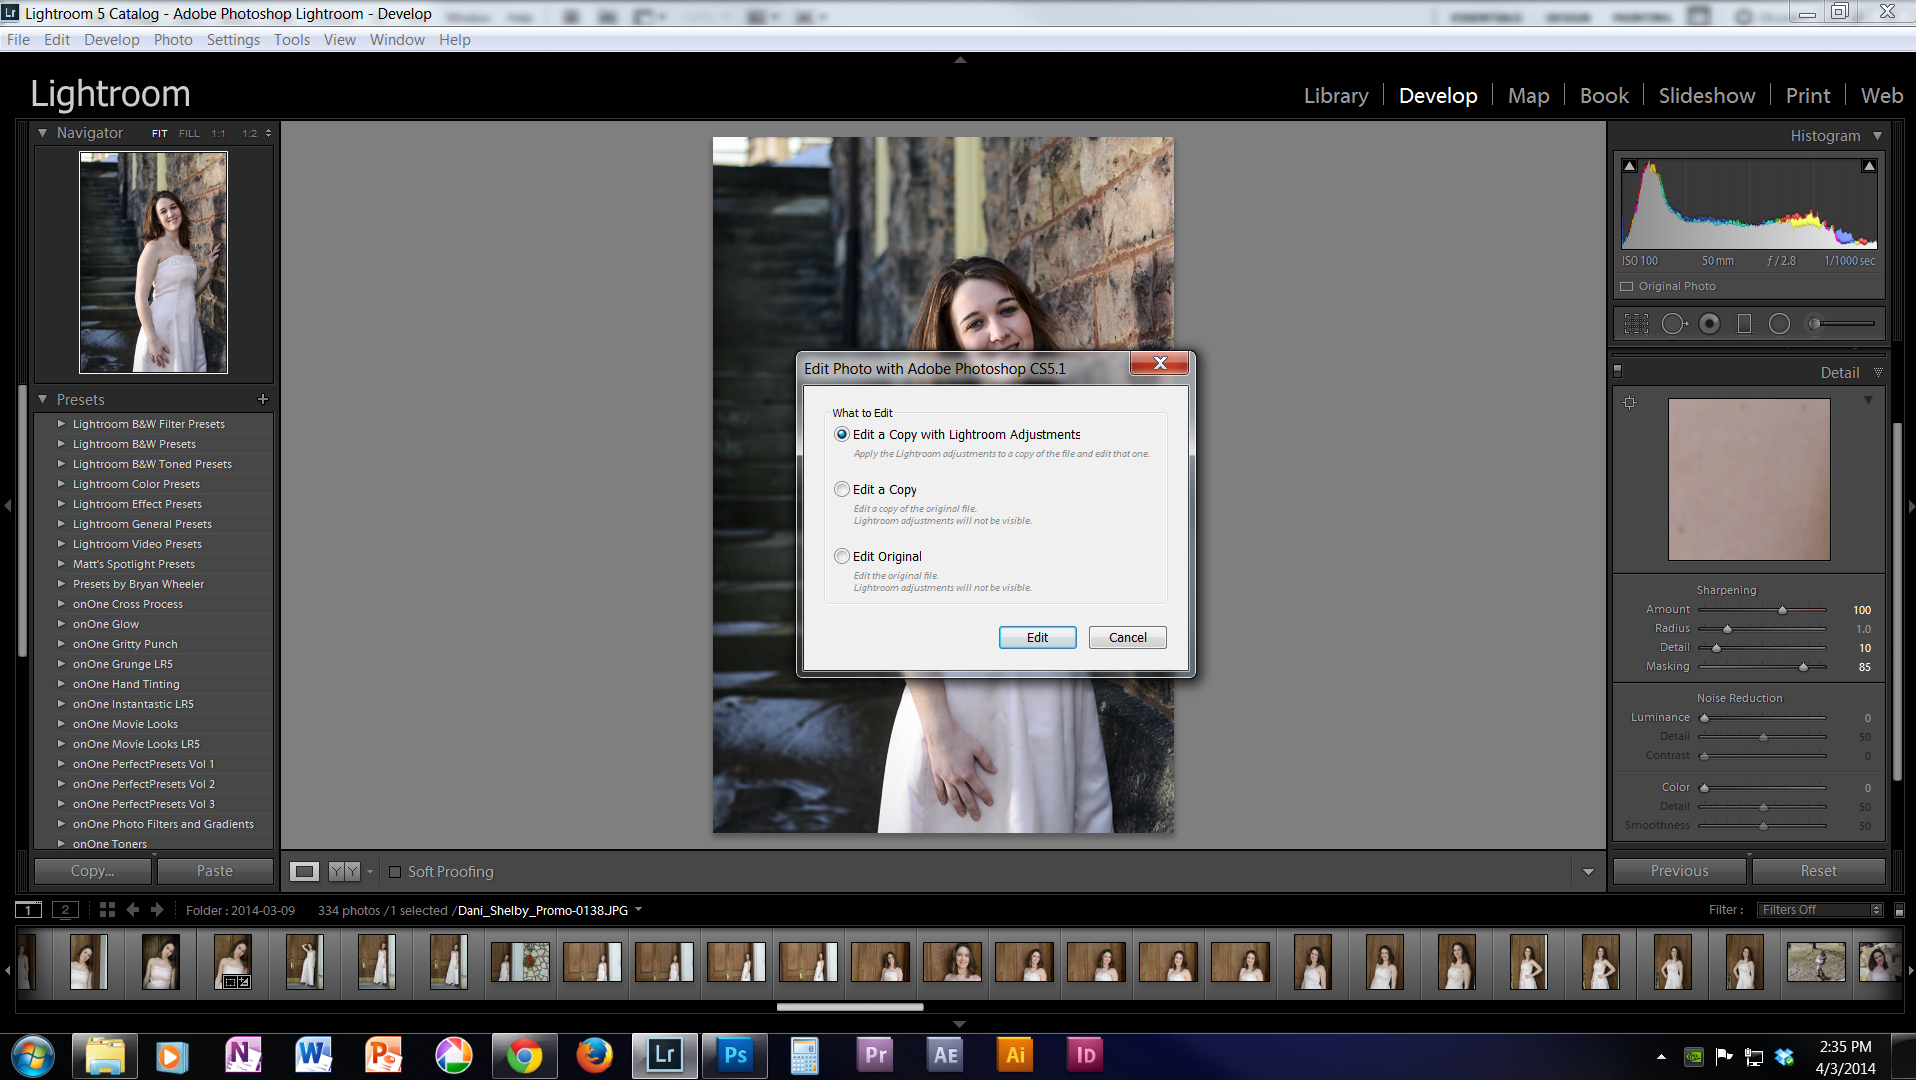
Lightroom will ask you how you want to send the photo to Photoshop. Select 'Edit a Copy with Lightroom Adjustments' and if it asks how it should be rendered, select 'render using lightroom'. This will create a TIFF file that Photoshop will edit so that nothing happens to your original color photo.

Step 2.
Note: These instructions are specific to Adobe Photoshop CS 5.1, most things stay the same between versions but be aware buttons might be in different places than shown.
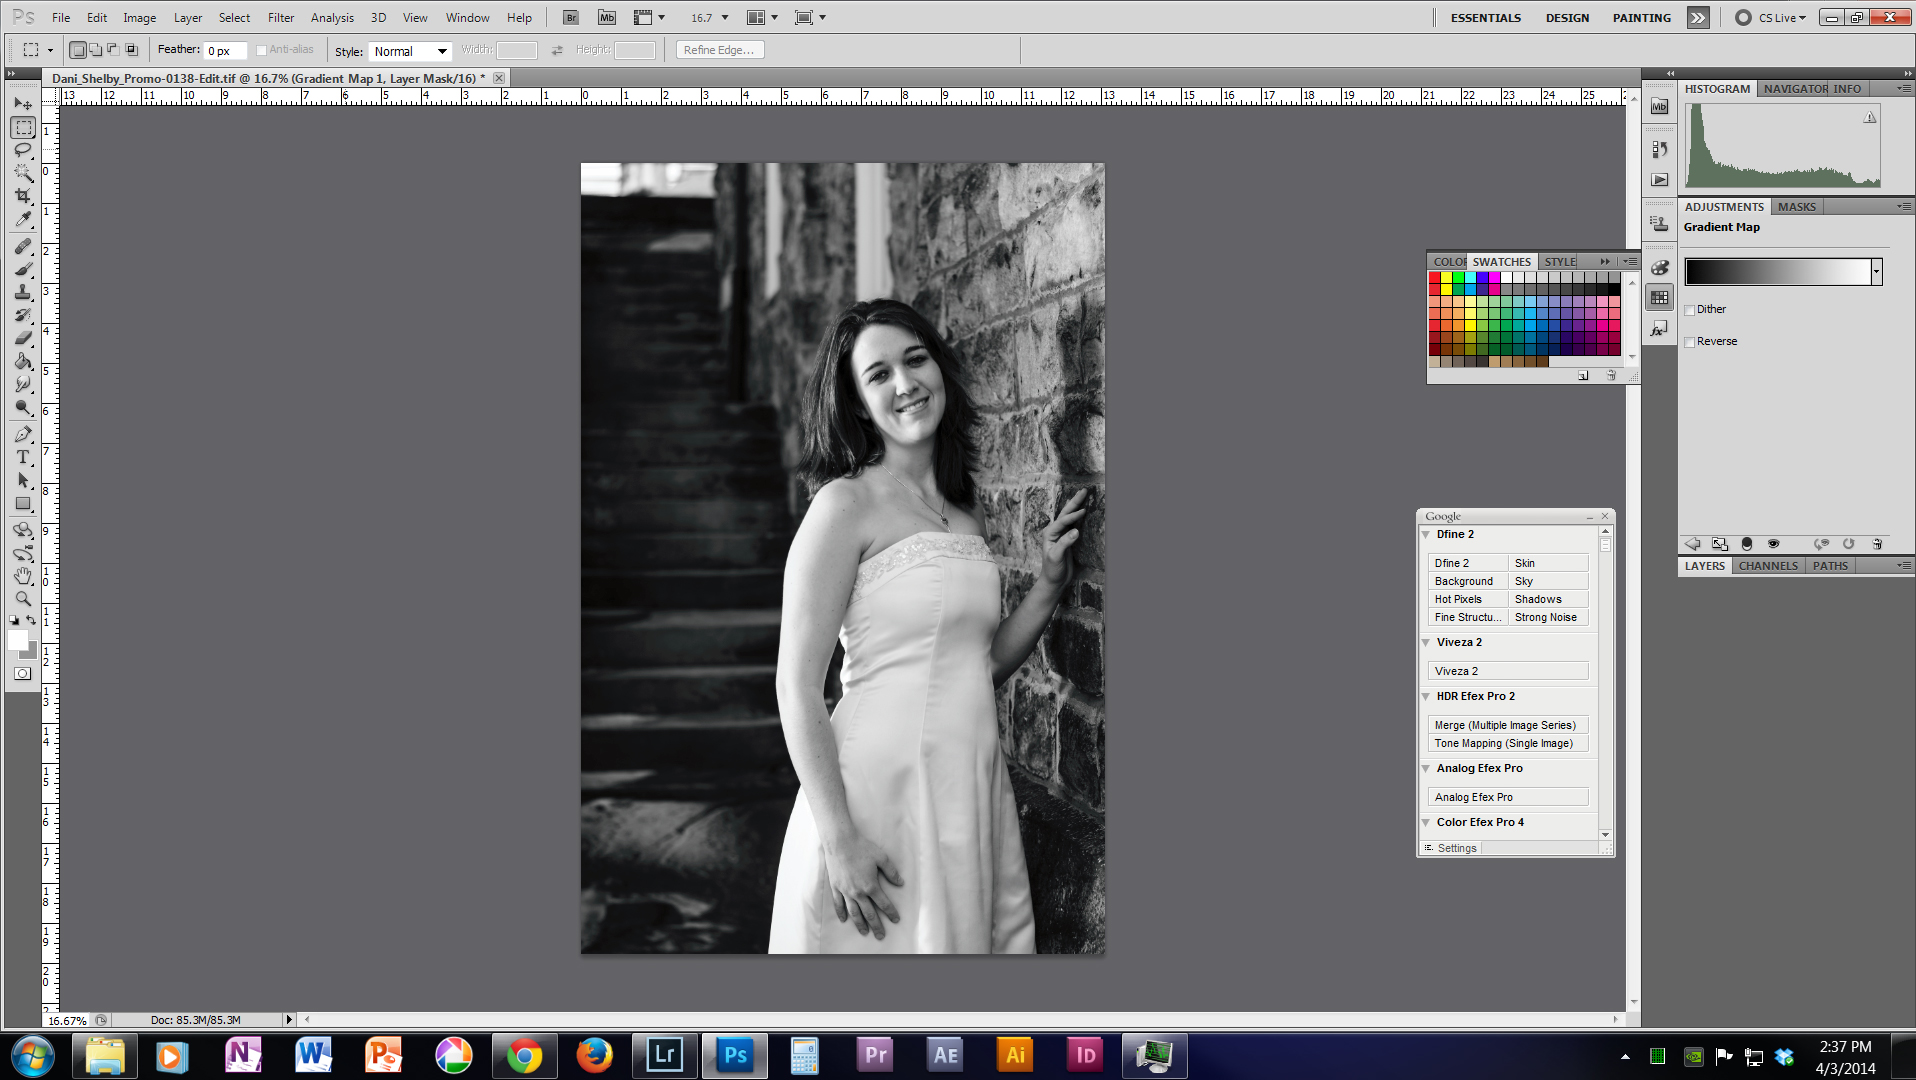
Now that your in Photoshop, go to your adjustments panel and apply a gradient map (alternatively image>adjustments>gradient map). Voilà a Black and White photo... almost. We can do even better.
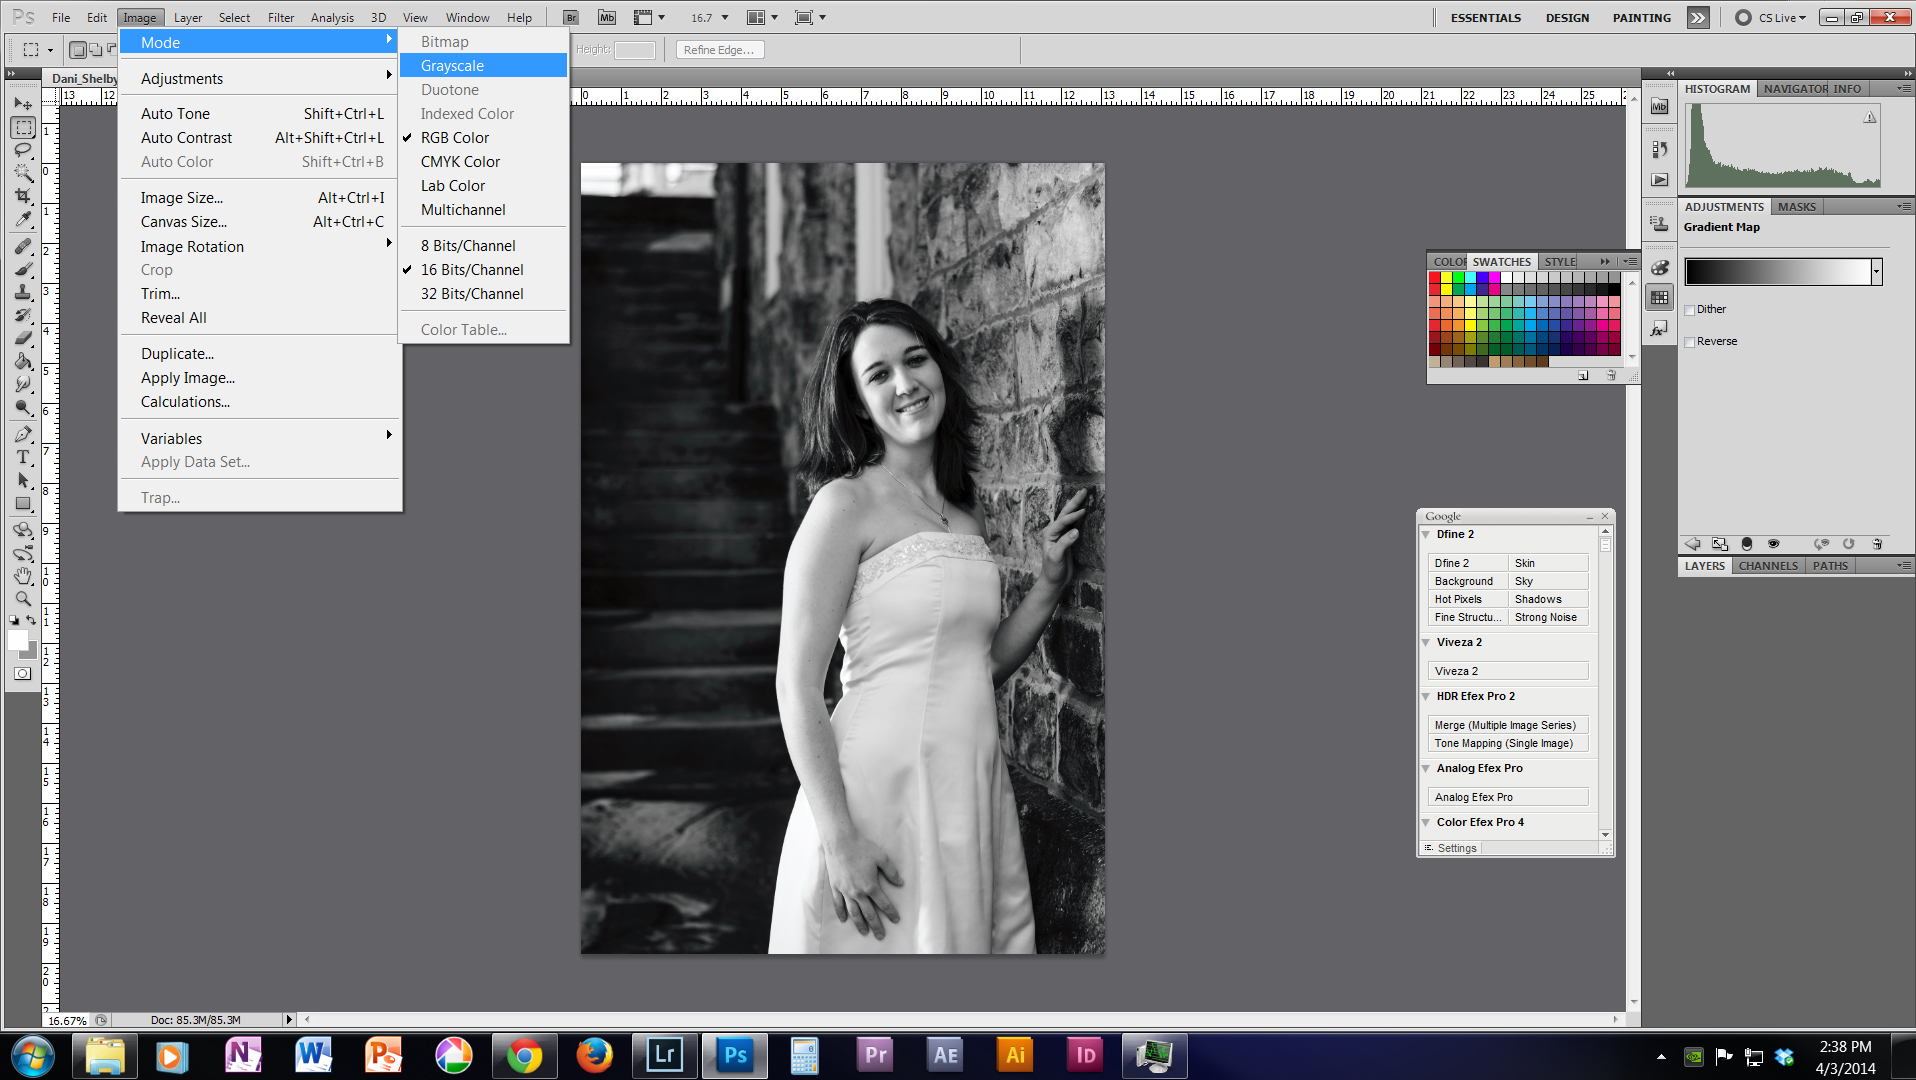
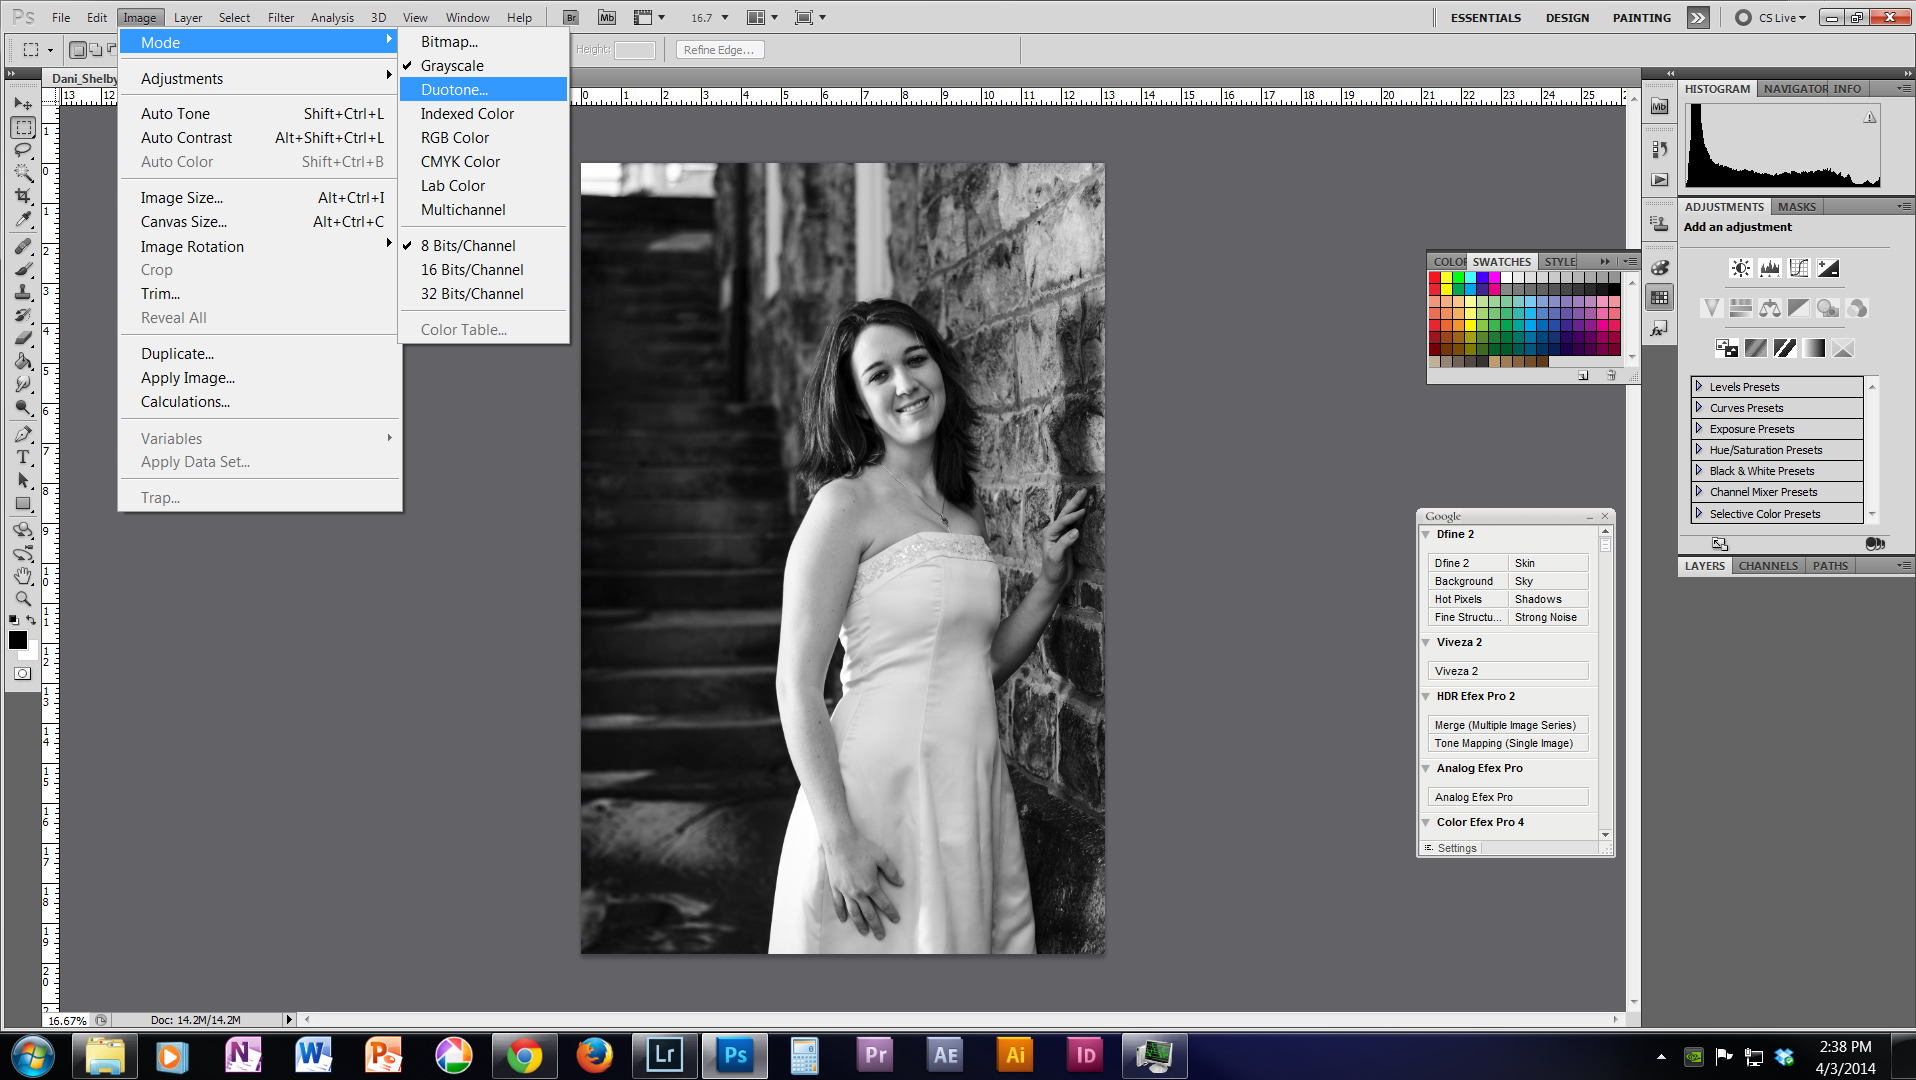
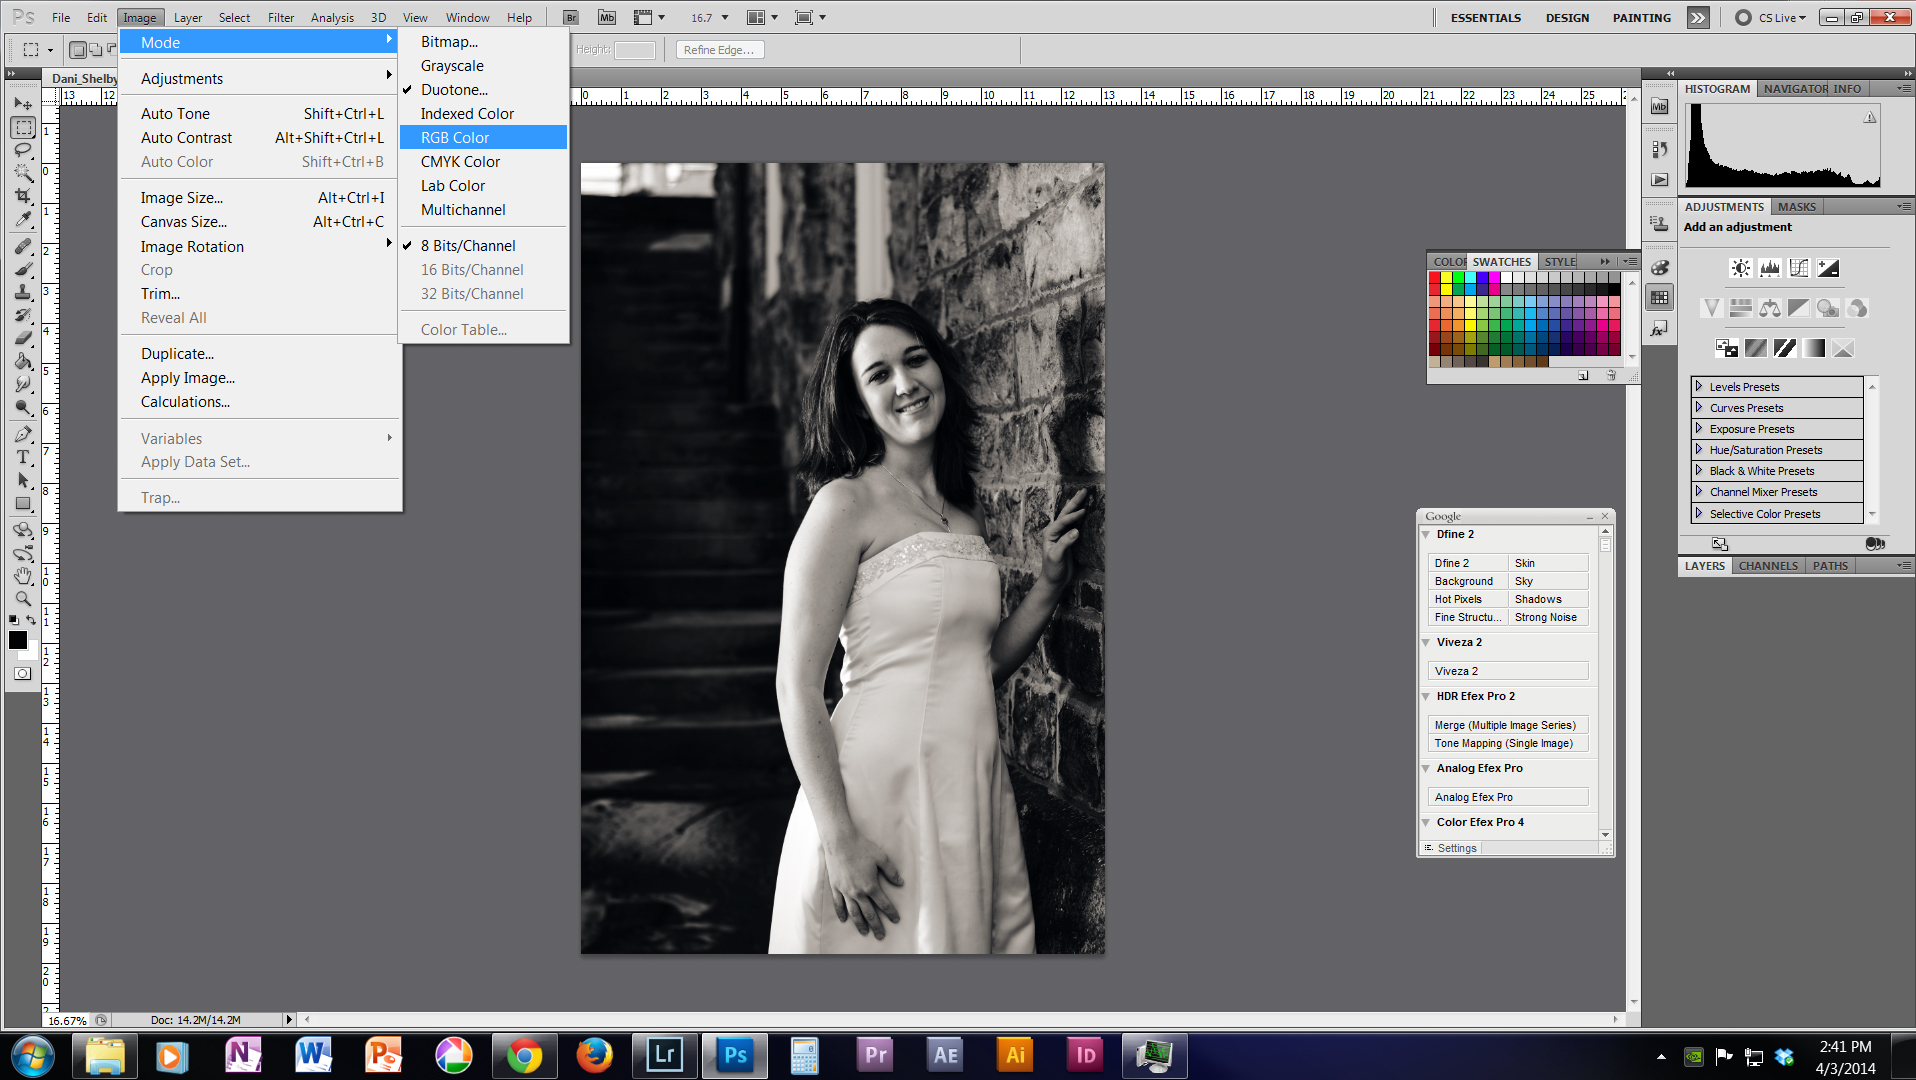
If you go to image>mode you will see a list of different modes that photoshop can render your image in, but a few of them are grayed out including Duotone. We are going to unlock that mode.
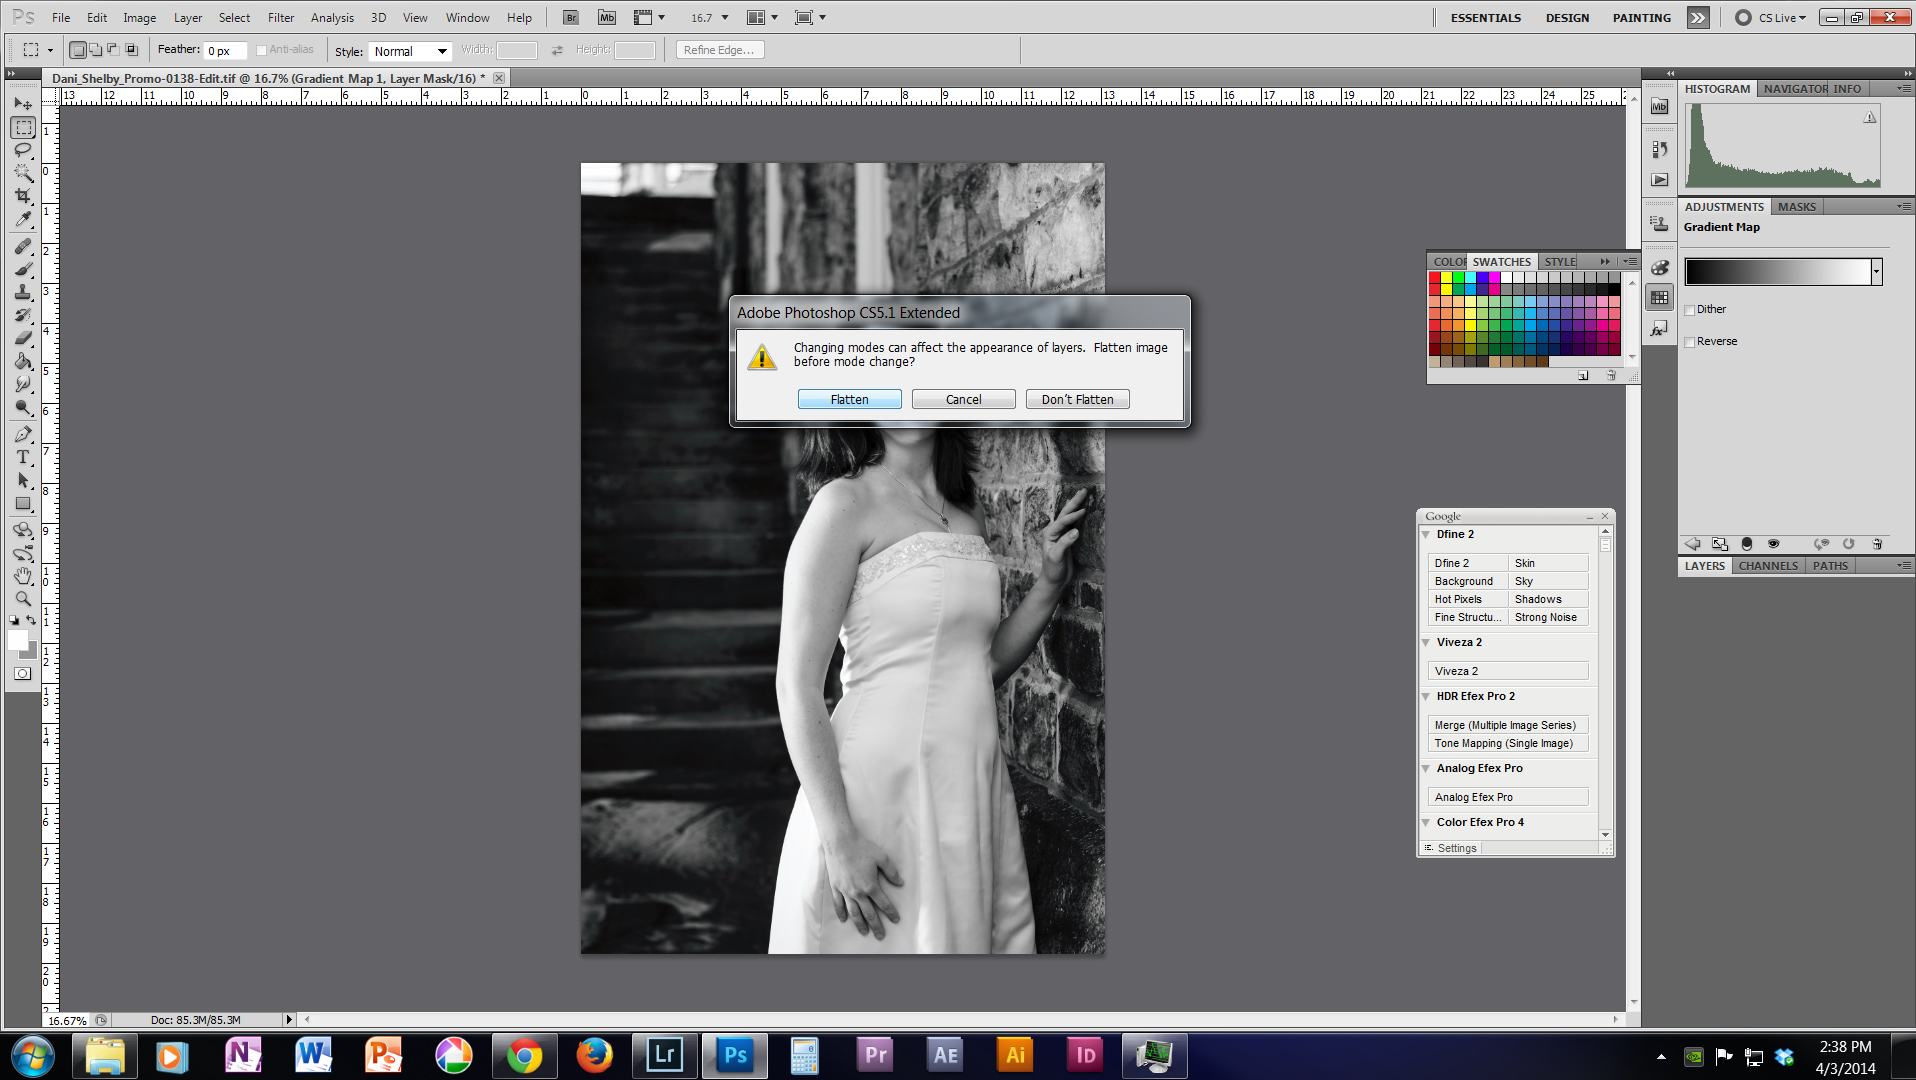
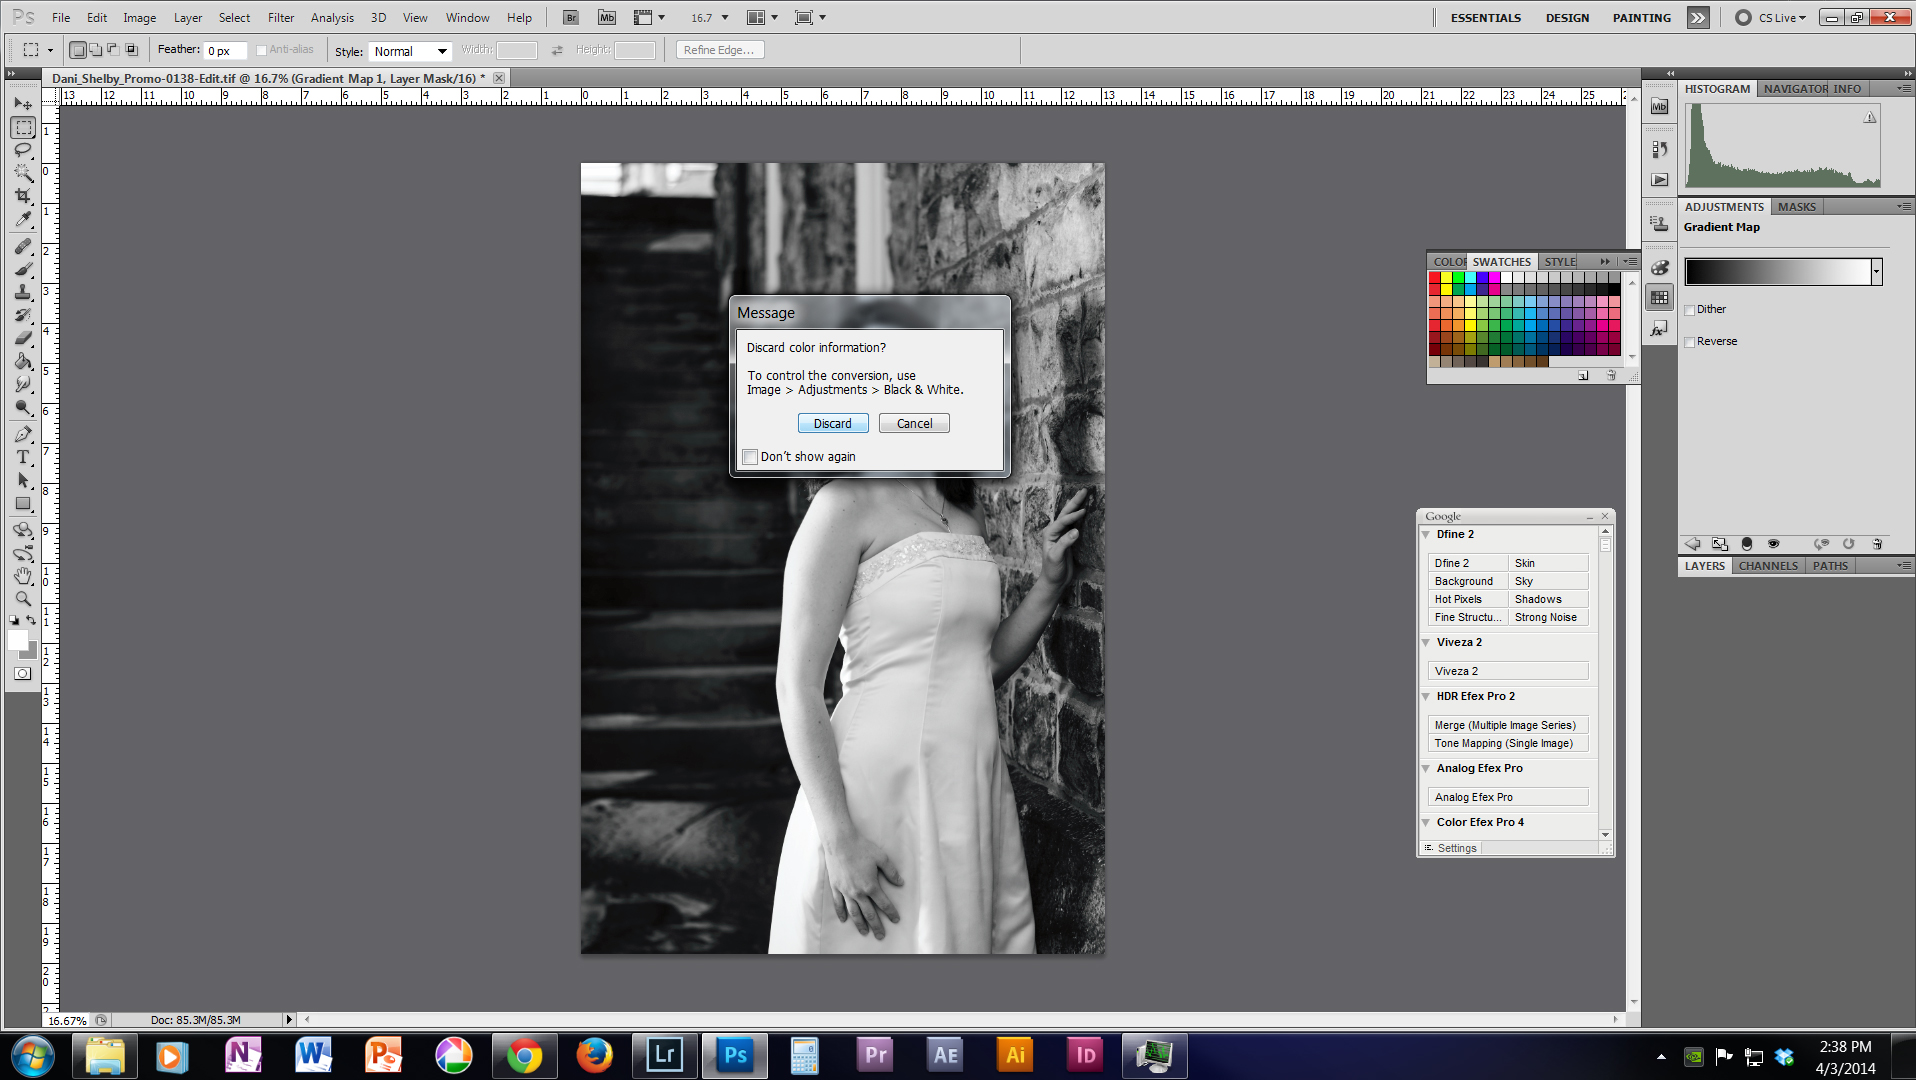
To do so, we need to click the option above it 'Grayscale'. A couple of warning boxes may pop up, but that's OK, you know what your doing. Click 'Flatten' and 'Discard' if those options pop up.
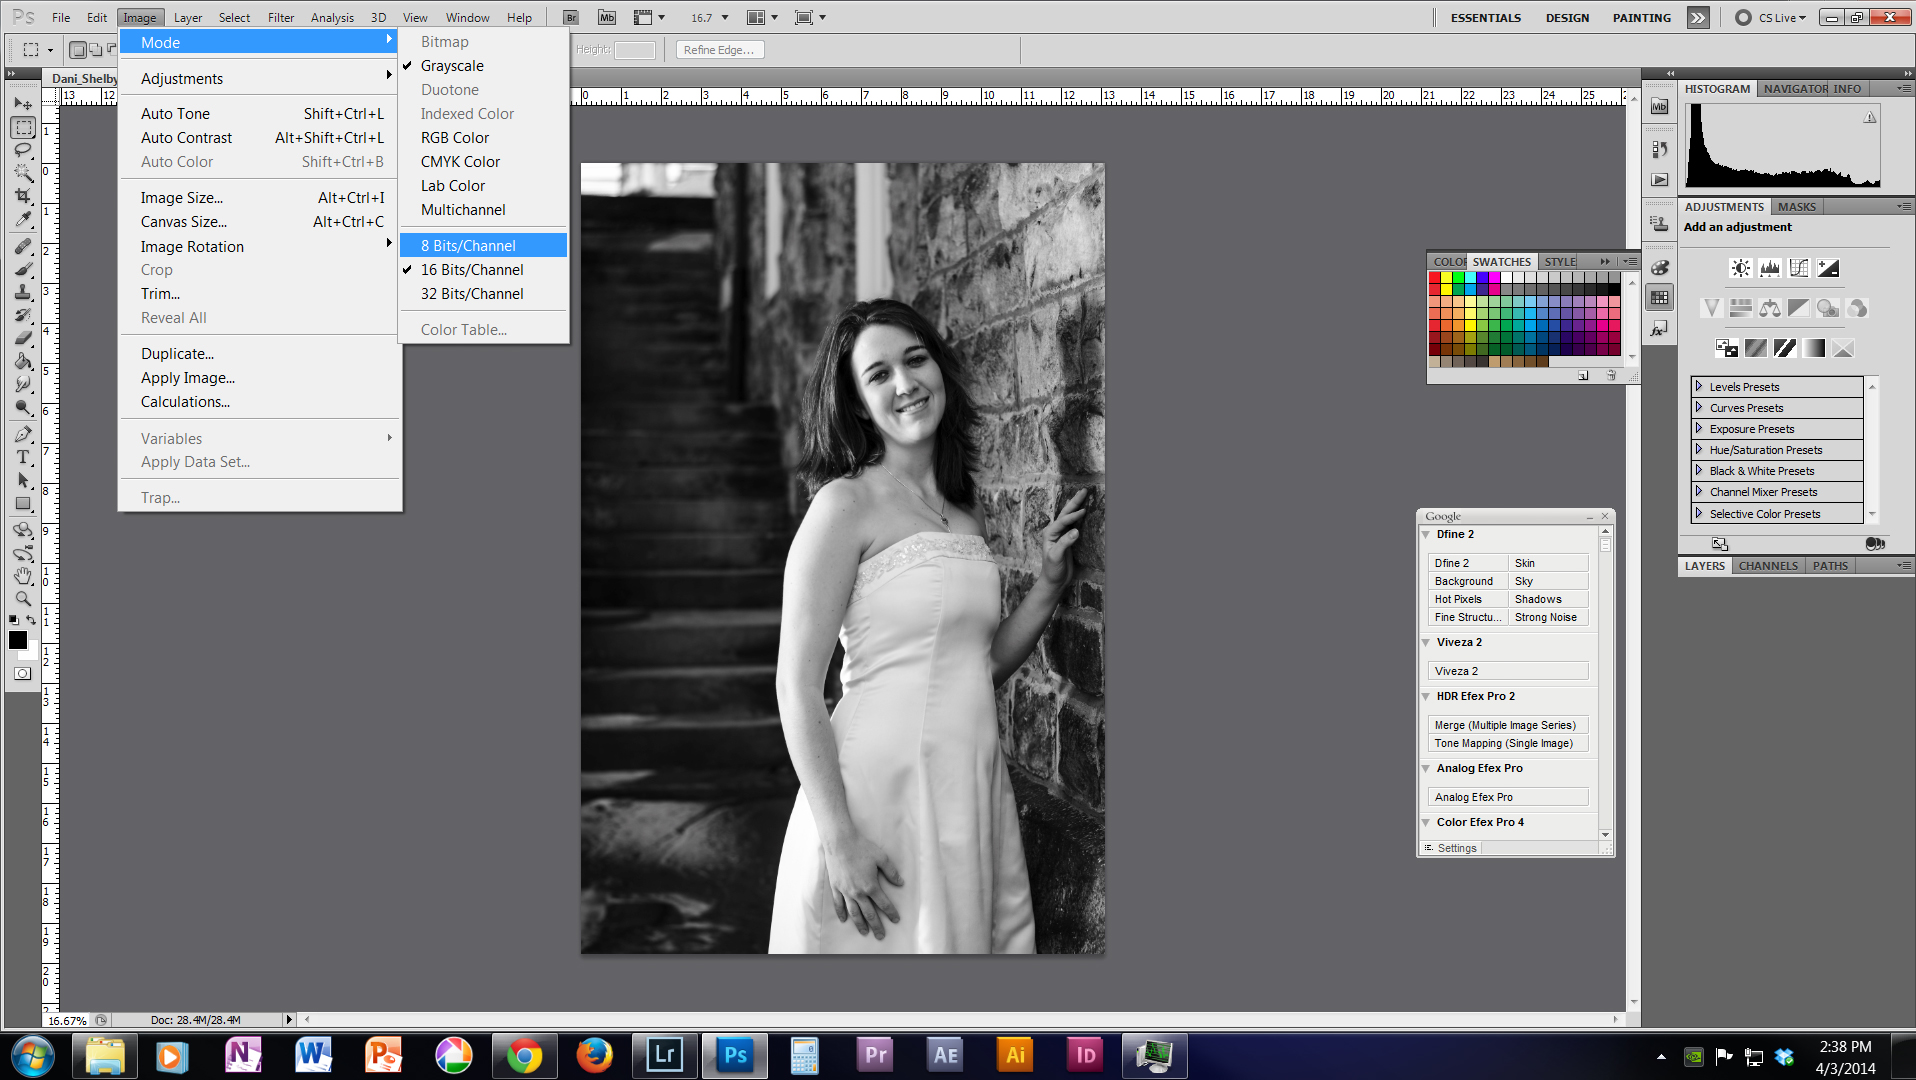
Next go back up to Image>Mode> 8 Bits/Channel. This will unlock Duotone in the same menu.
Up to now it may look like nothing is different about your photo, but the next step will do the trick. Go back to Image>Mode>Duotone.
Step 3
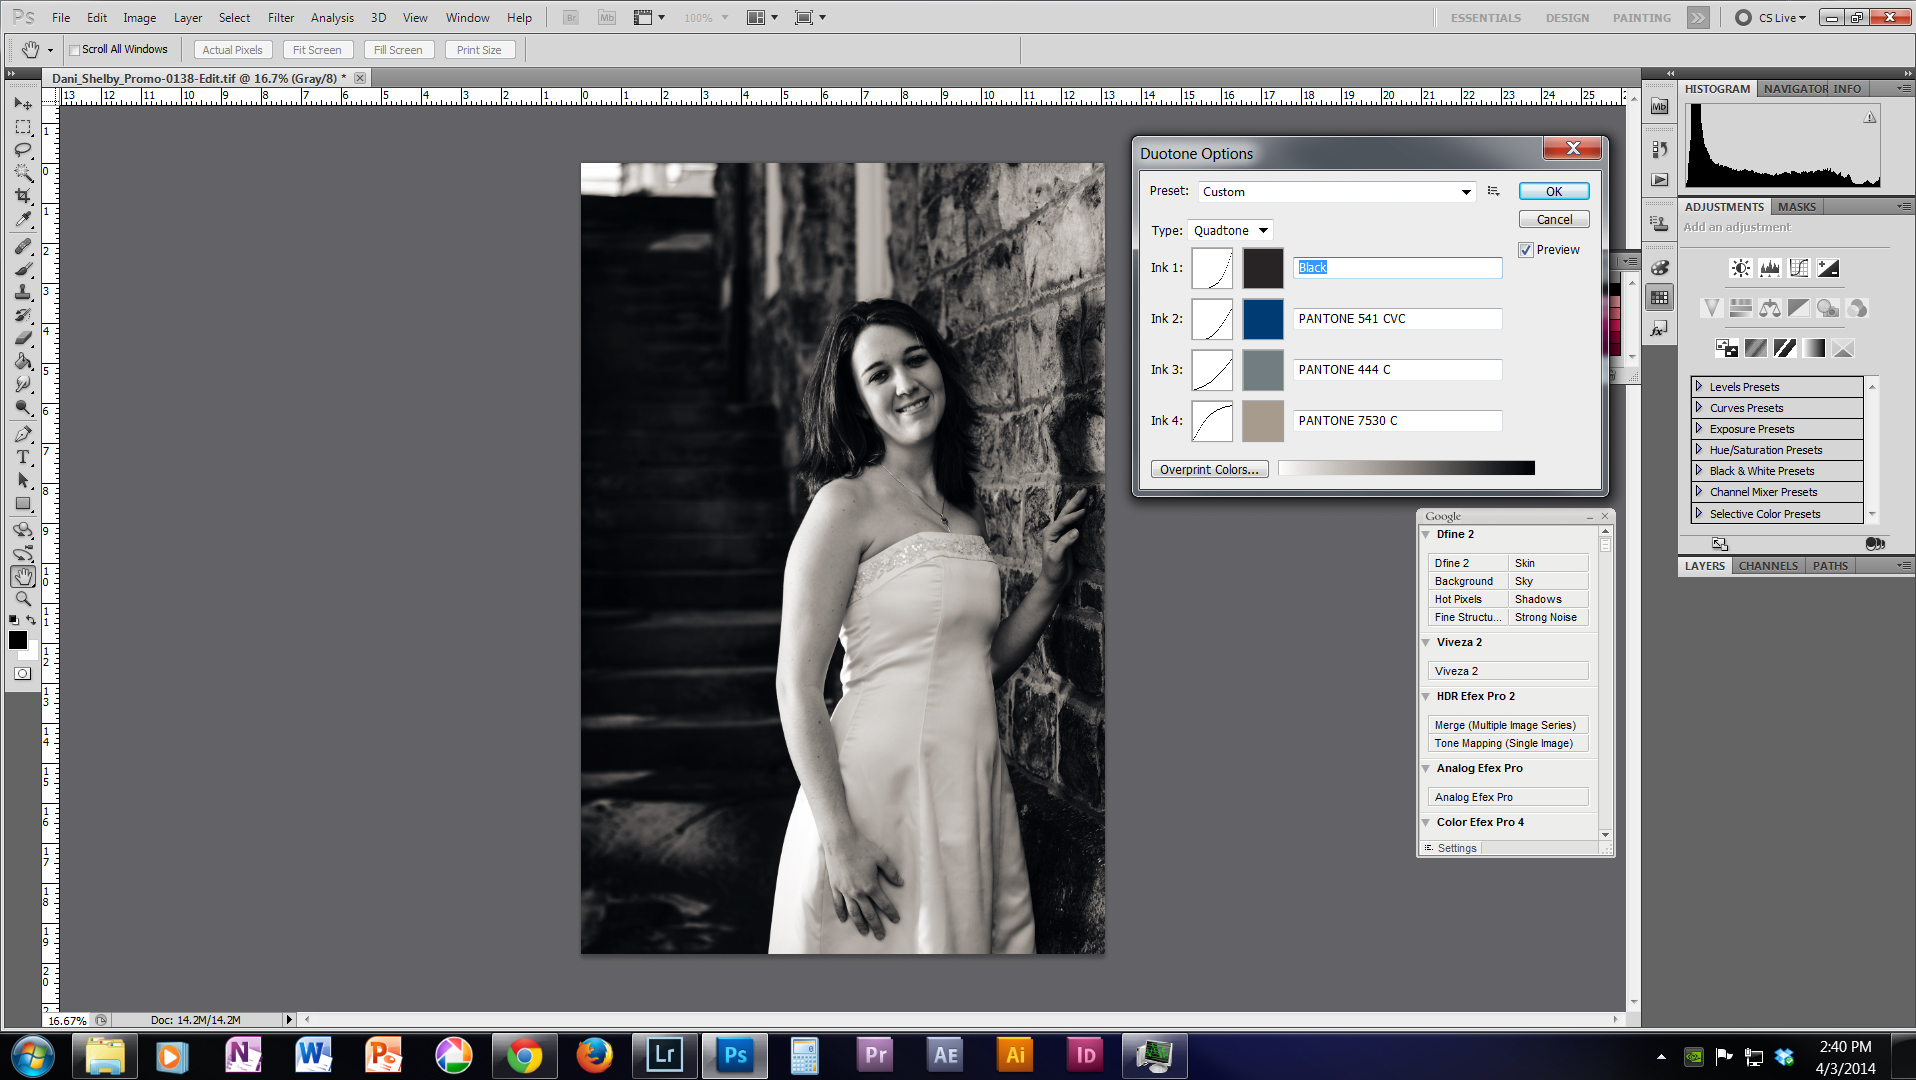
Now the Duotone Options box should pop up, this is where the magic happens.
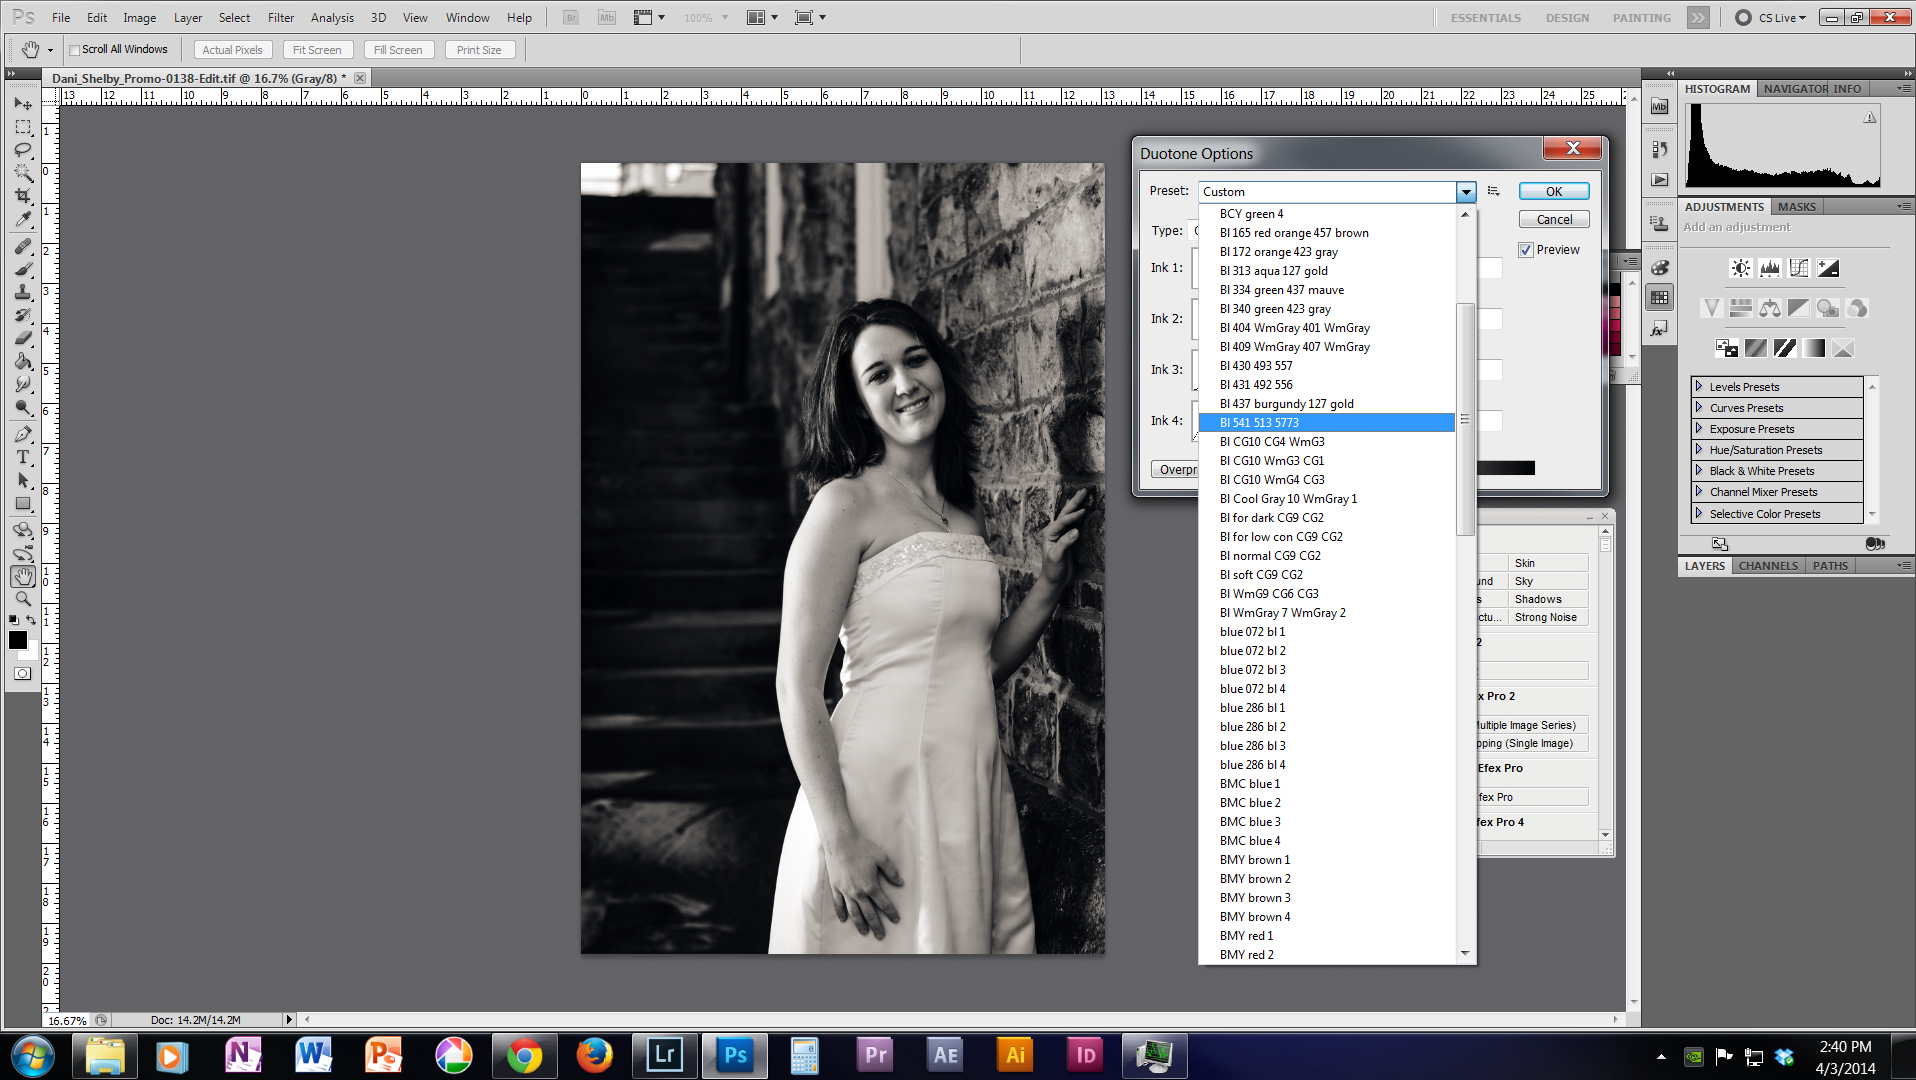
You can experiment here as you like. The preset drop down menu has a wide selection of styles to choose from. I've made a custom preset with a look that I like which you are welcome to use.
To apply it select 'Quadtone' from the 'Type' drop menu. The inks from 1 to 4 are as follow:
Black
PANTONE 541 CVC
PANTONE 444 C
PANTONE 7530 C

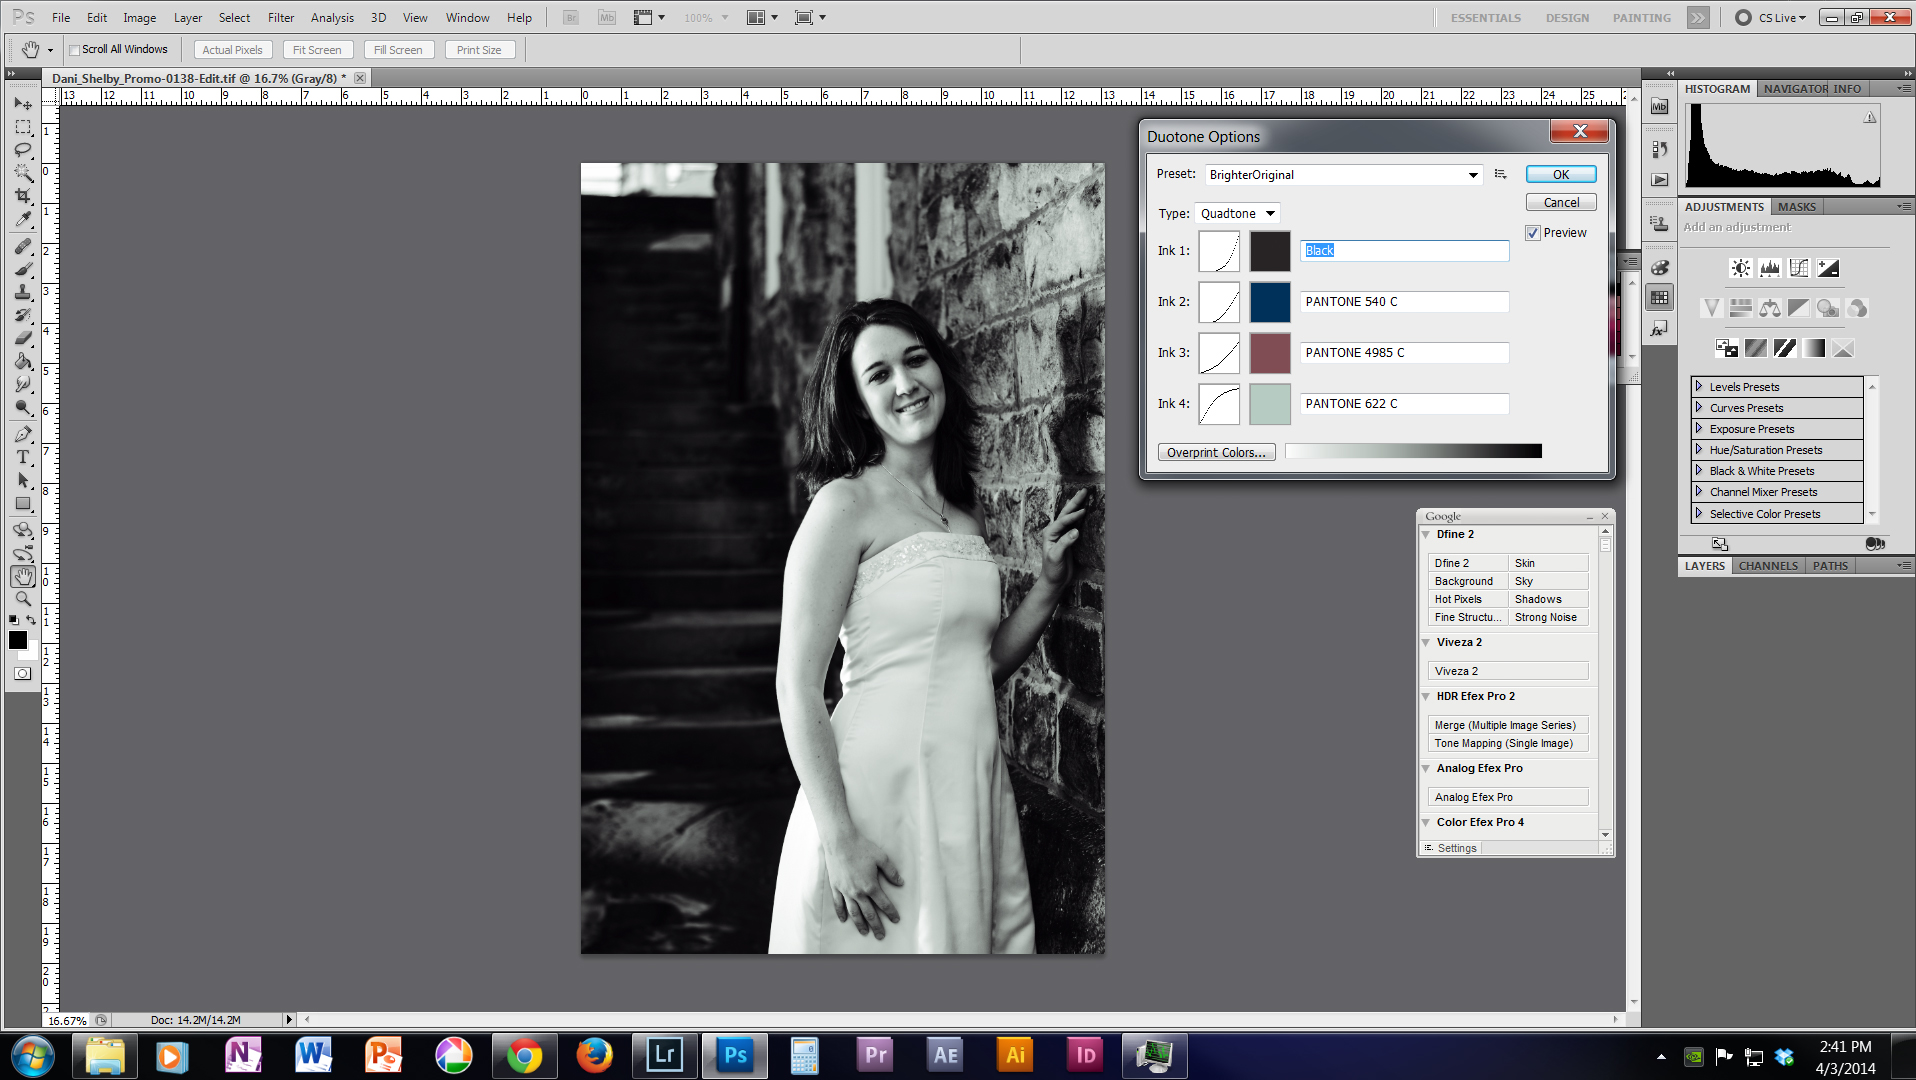
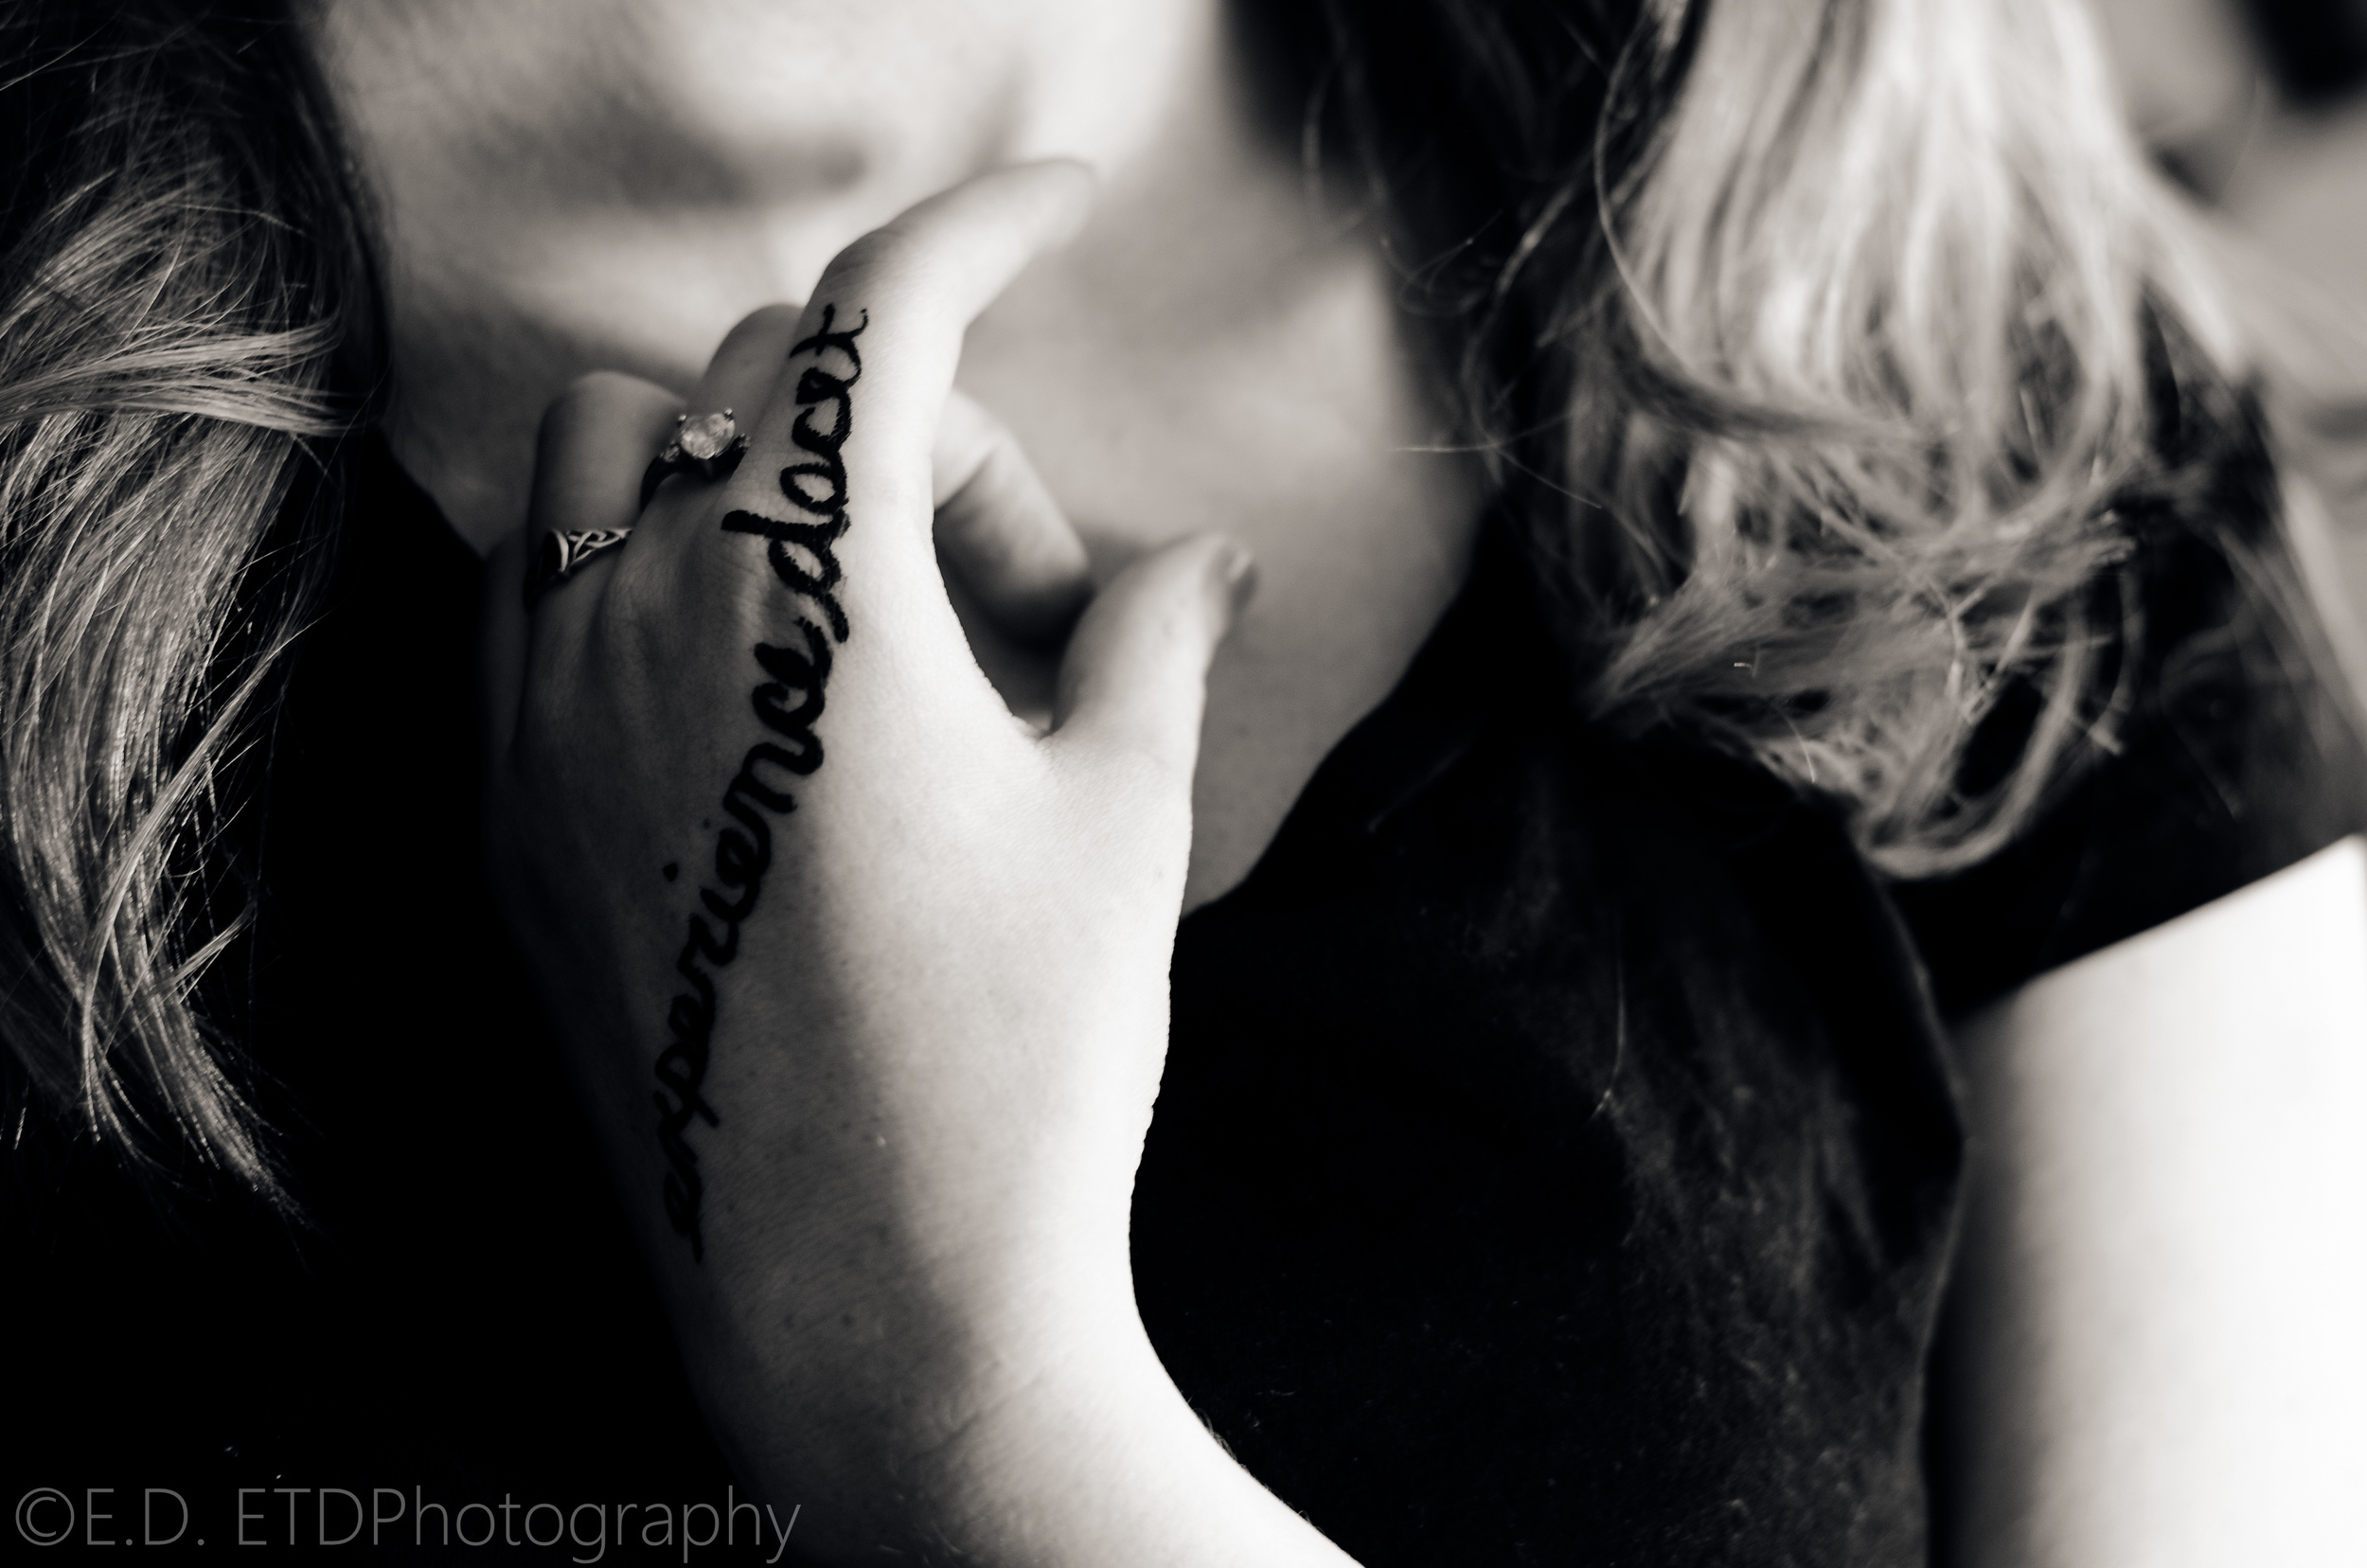
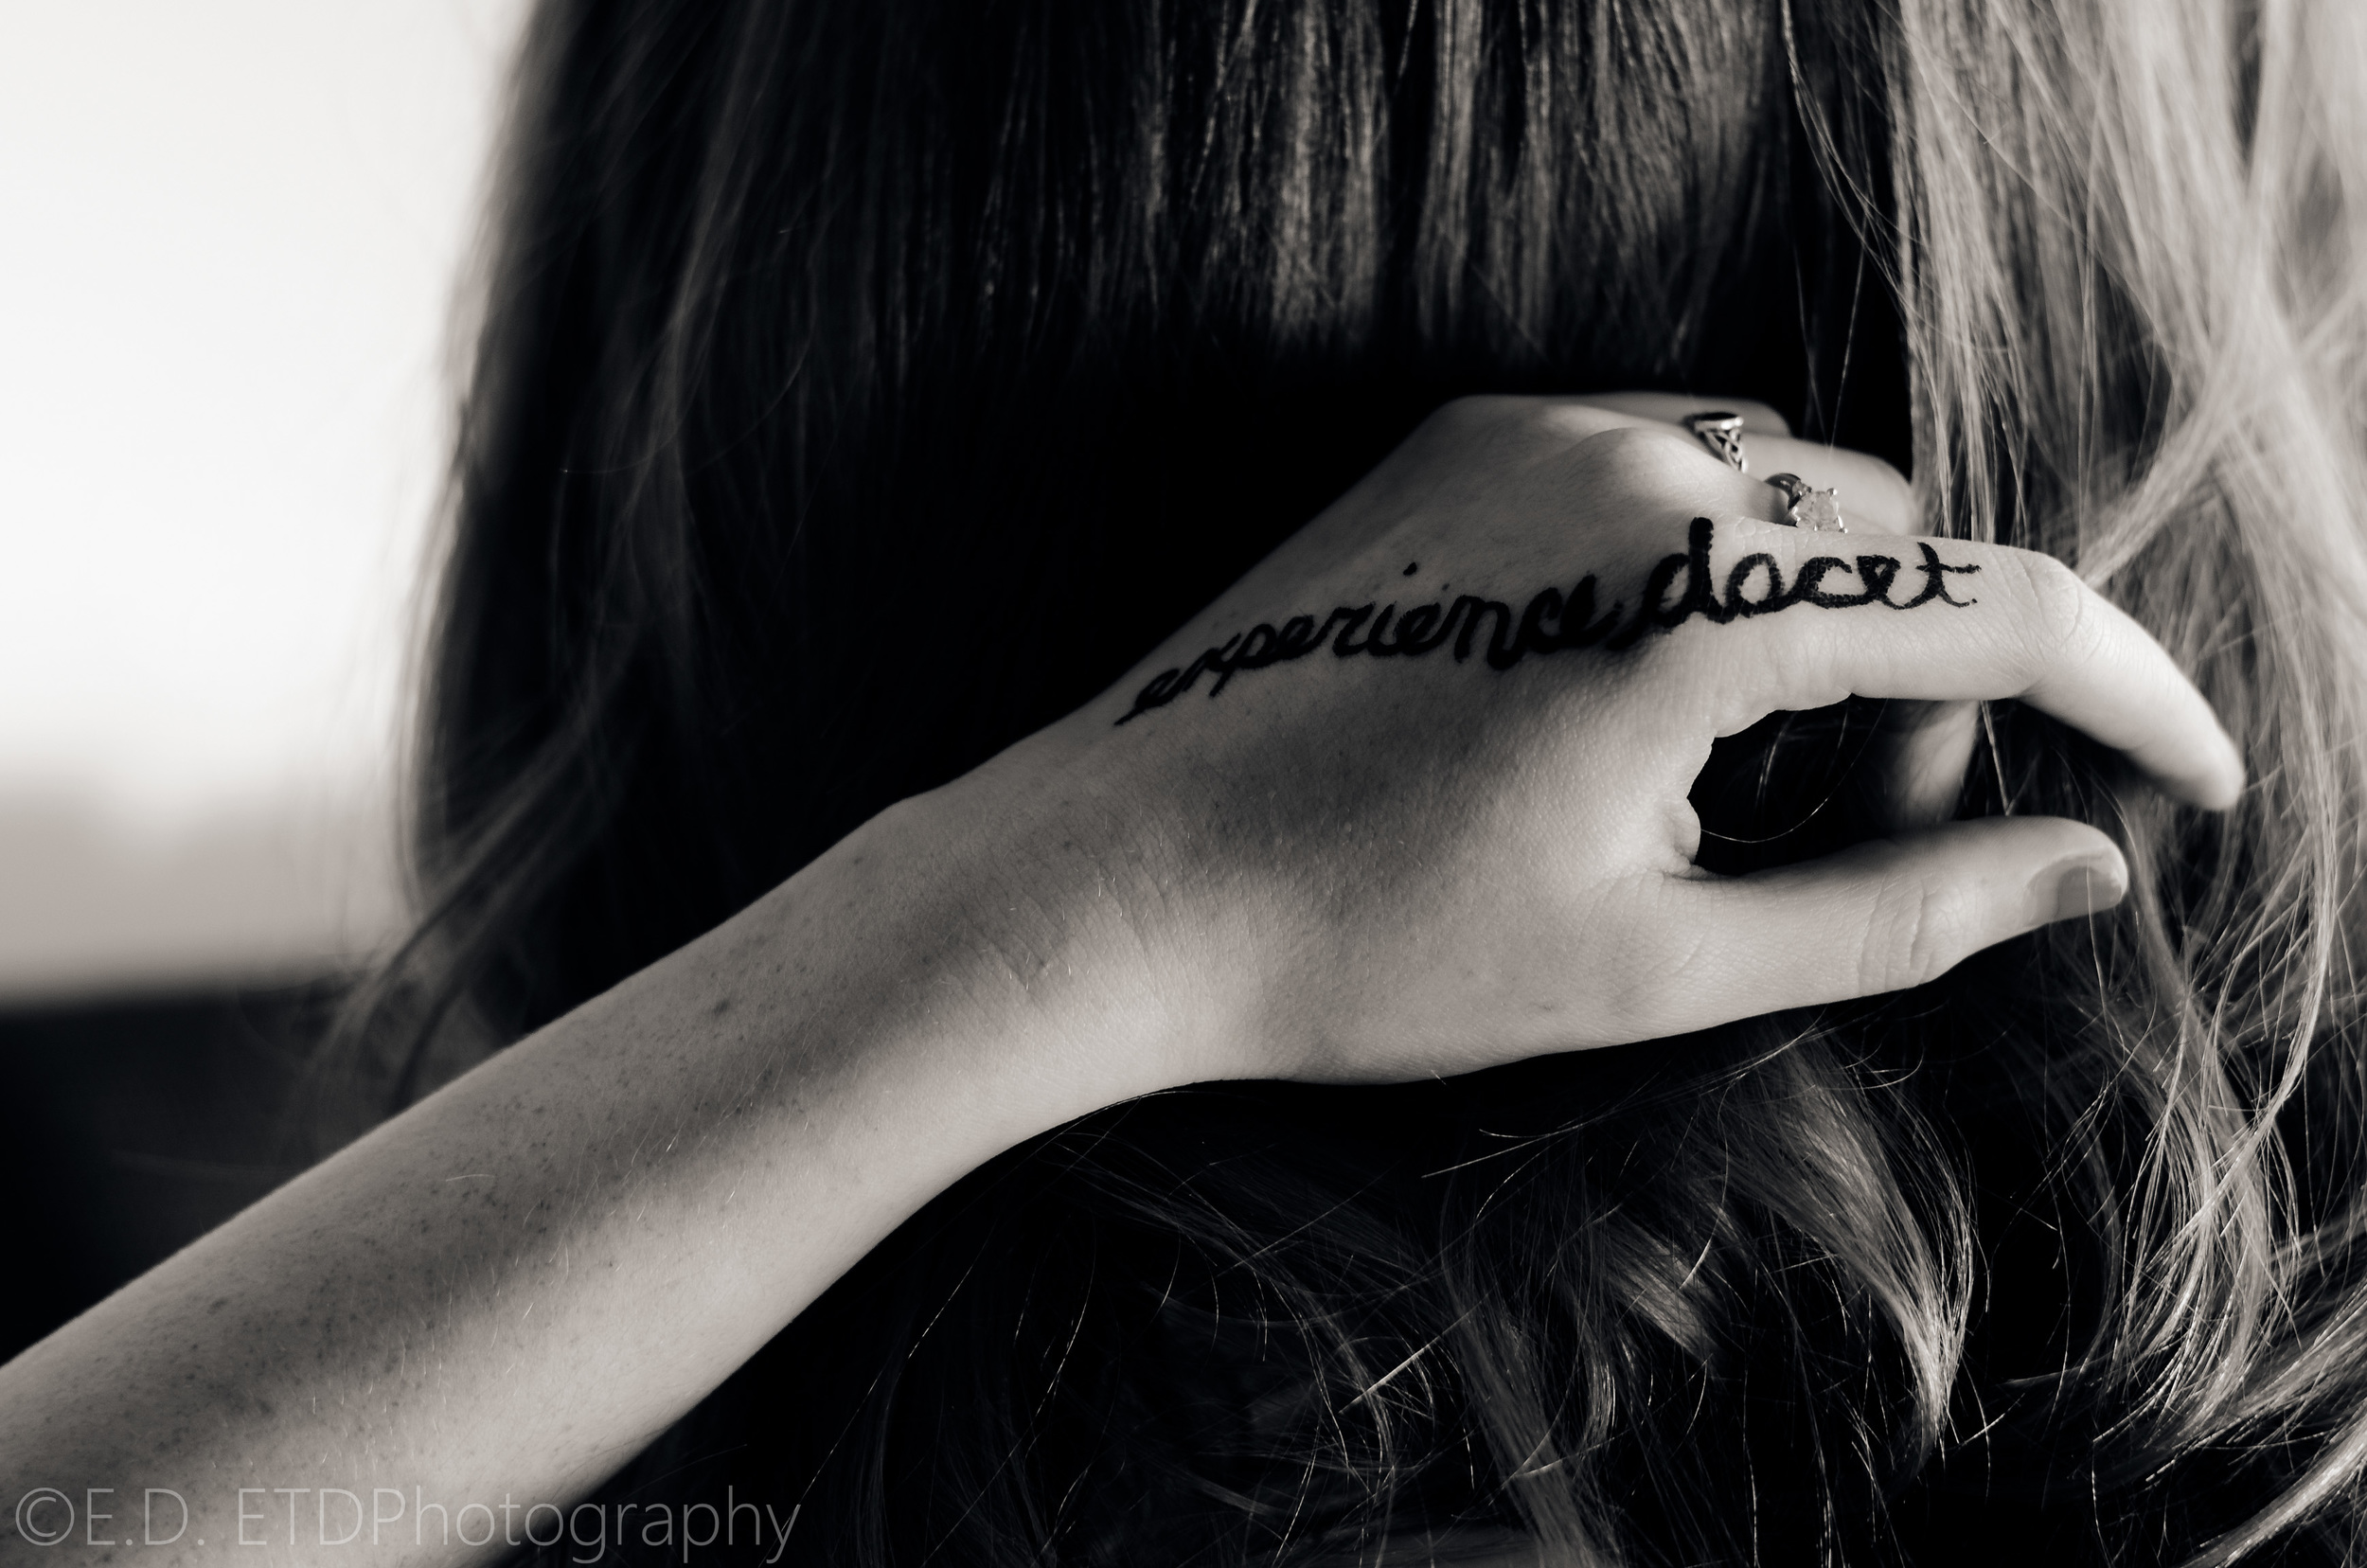
When you have found a look that suits you, click OK. Before you exit the photo, go back up to Image>Mode>RGB Color. Your done! Save and exit Photoshop, and do any tweaking to exposure or sharpness in Lightroom as normal.
Thanks for reading! Do you have a favorite method of converting to black and white? Leave it in the comments below!